The User Management section of MRS Web allows System Administrators to Create and Modify MRS Web Accounts alongside other User-related tasks such as initiating Password Resets, setting Access Rights .etc
¶ User Interface Overview
¶ User Status Icons
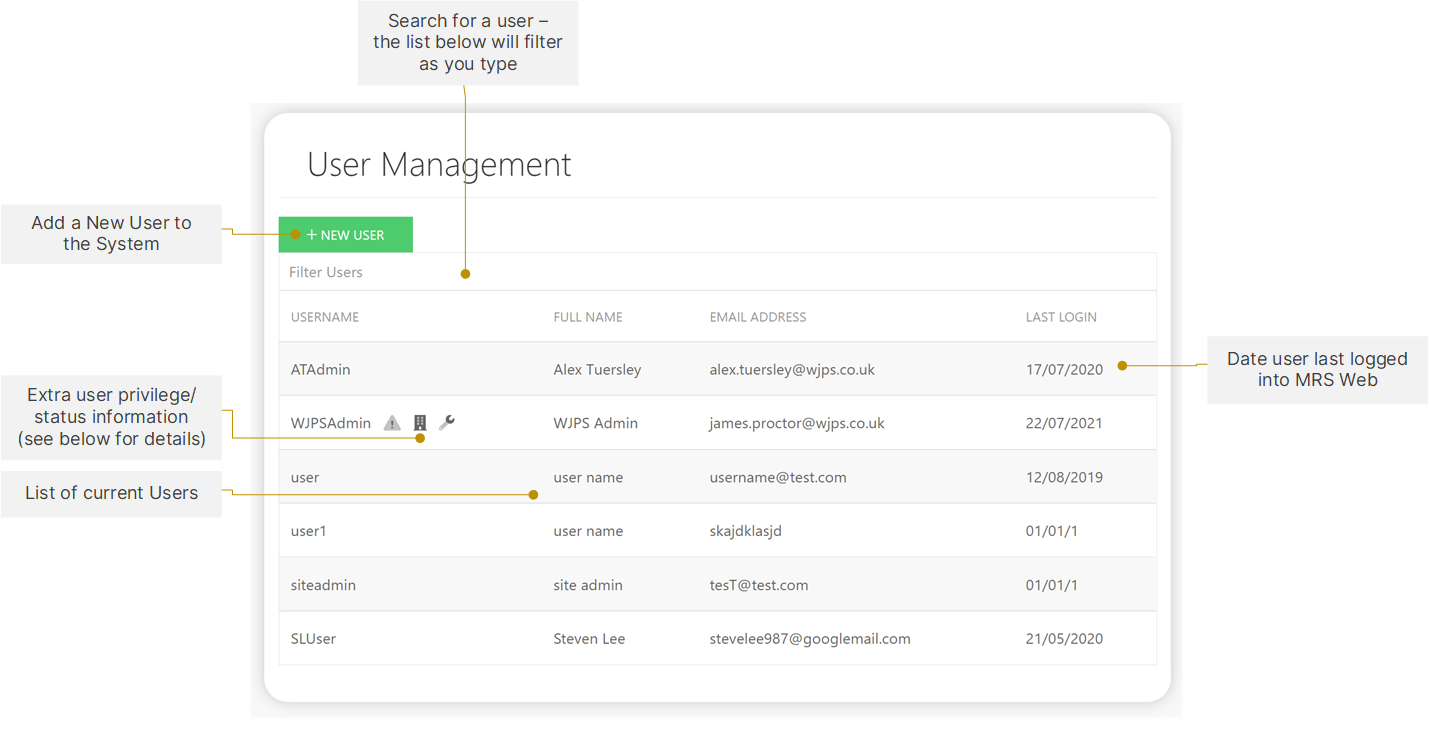
As shown in the screenshot above, MRS will display additional icons next to a user to indicate their privileges or status:
- - User has access to manage Exception + ID Reports
- - User has access to Manage an entire Unit
- - User is a full System Administrator
- - User has been deactivated and will not be allowed to log in
¶ Adding a New User
From the Main User Management interface, click the + NEW USER button above the list of current Users.
This will bring up a form in which you can fill in the details of the new User.
- Username: The username that the User will use to log in to MRS Web.
- Email Address: The email that MRS Web will send Exception reminders, Password resets .etc to.
- First Name
- Surname
- Customer: The Customer to which this User will be attached.
- Exception / ID Admin: If checked, this User will be able to handle and release Exception + ID reports.
- Unit Admin: If checked, User will be able to add Plate Groups to Units + Rooms.
- System Admin: User will have Global Access to all Sites, Units and Rooms on the system and have ability to add/edit Users and set their access levels.
- URL: The address that the User will use to access MRS if they are off-site and not using the internal network eg. Working from home.
When all fields have been filled, click the Save button below to add the User.
You should then receive confirmation that the User has been added, along with options to send their password to them.
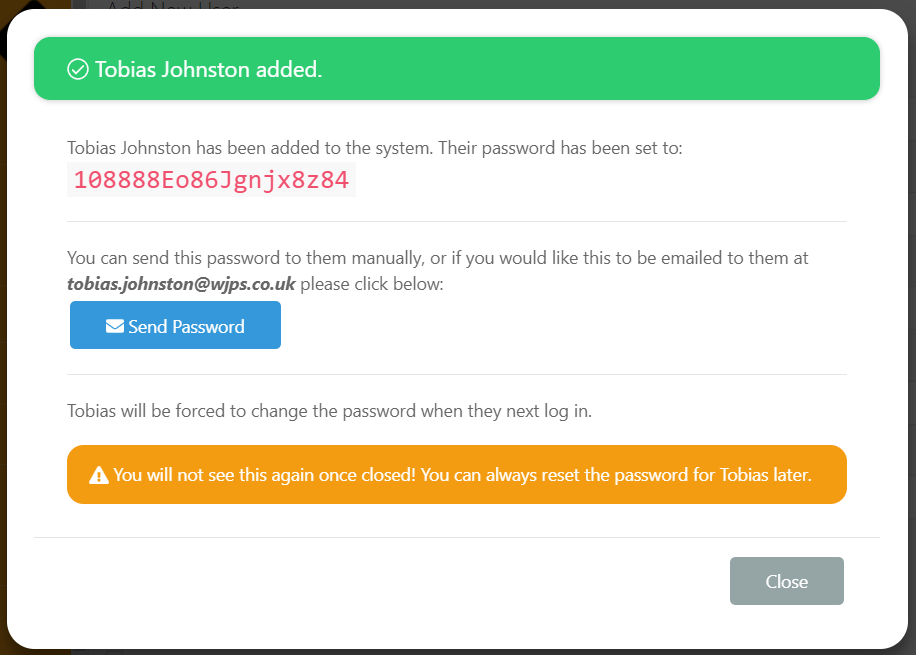
This can either be done manually by copying and pasting the displayed password, or sent to them via email by clicking the Send Password button.
¶ Resetting a User's Password
User passwords can be reset from within the main User Management interface.
Click on the User whose password you wish to reset:

and their account details will be brought up.
Select the Reset Password button above the User's account details and you will be prompted to confirm the reset.
Click Yes to finalise the reset.
You should then receive confirmation that the reset has been performed.
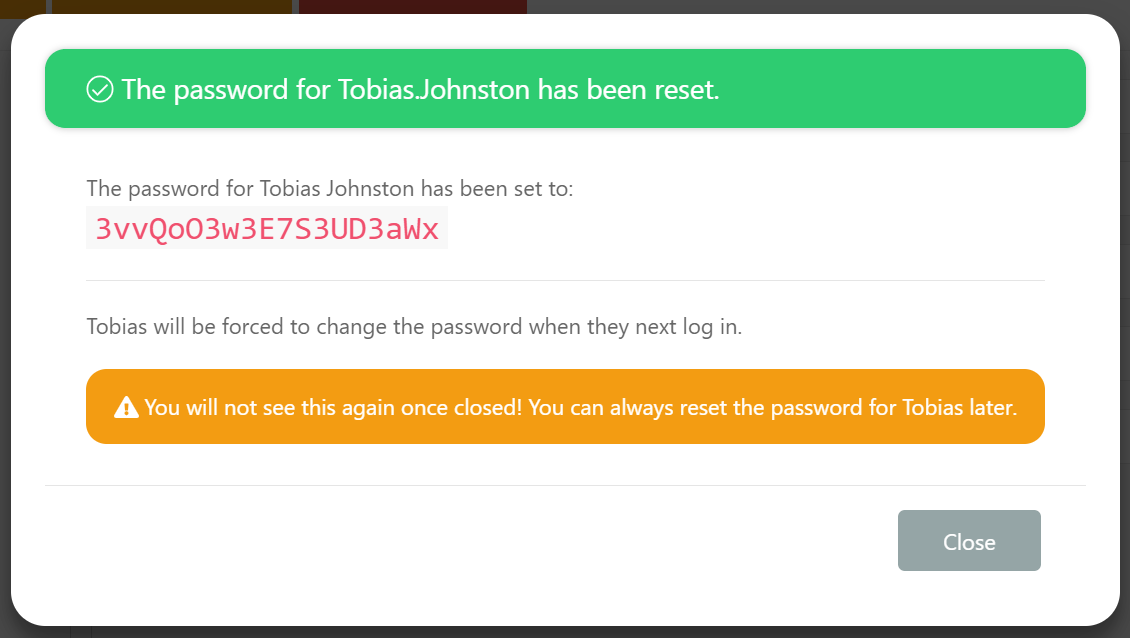
The User will then receive an email containing their temporary password, or you can copy + paste the displayed password and send it to them manually.
They will be prompted to change it to one of their choosing upon next logging in.
¶ Disabling a User
User accounts can be disabled from the User Management section and the User will no longer be able to log into MRS Web, however their account will not be deactivated, and they can be re-enabled at any point.
Select the User account you wish to disable:
and their account details will be brought up.
Click the Disable User button above the User's details and you will be asked to confirm your decision:
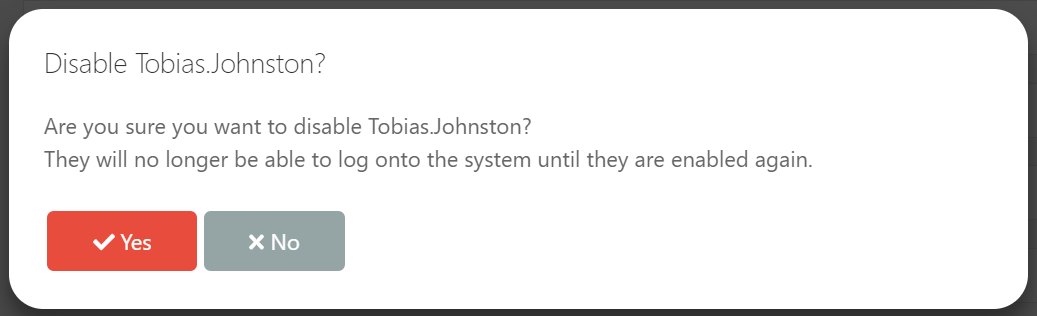
Once confirmed the User will be disabled, and will appear with a Disabled icon within the User Management section: