When entering Results in which Growths have occurred, a further identification can be requested to more accurately identify the contaminant.
Identifications can also be requested on an Ad-Hoc basis, that are unconnected to Routine work.
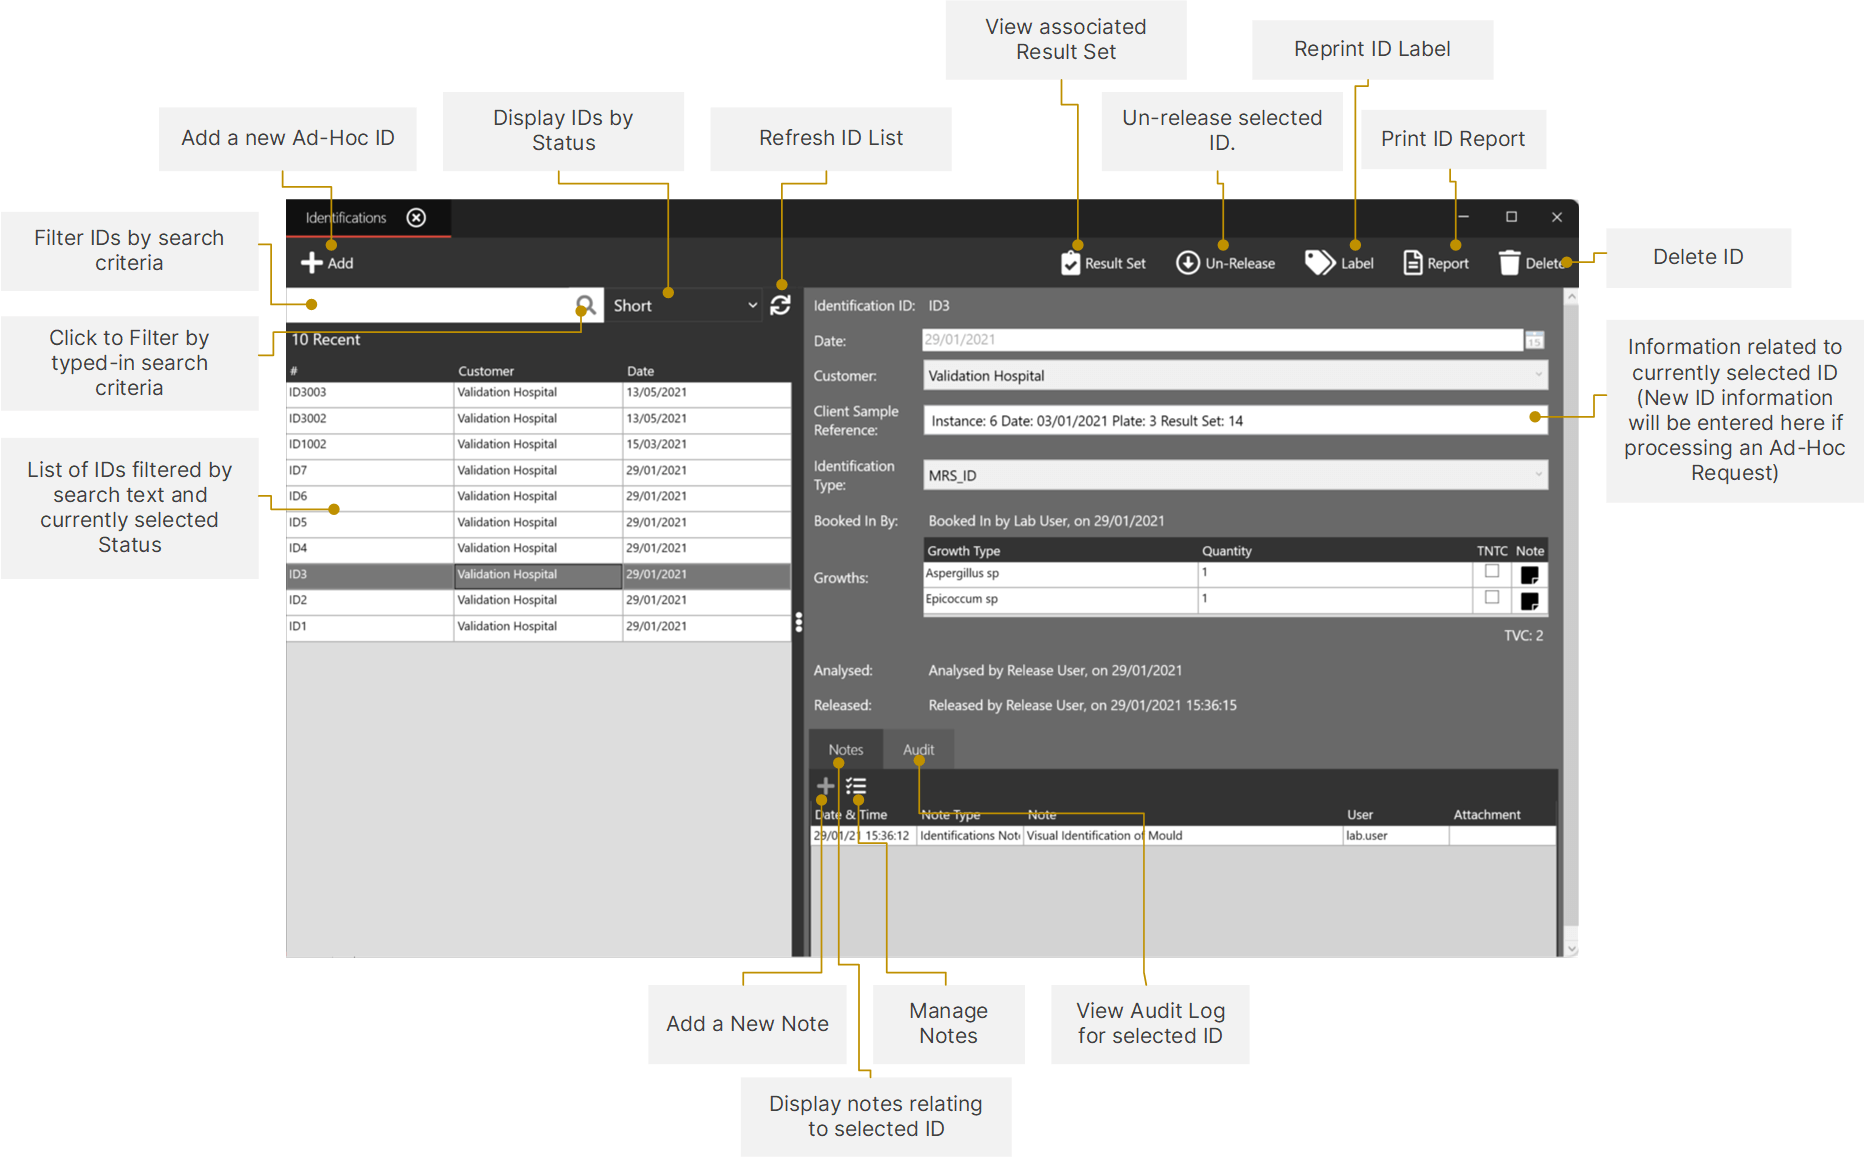
¶ User Interface Overview
¶ Processing a Routine Identification
If any Growths are entered when a Customer's Booked-In Plates are Read, These can then be sent for further Identification which occurs independently of checking and releasing Exception Reports.
Result Sets and Exception Reports can be Checked and Released before Identification is complete, however when an Identification is released, all related Result Sets and Exception Reports will be automatically updated with the new information in both MRS and MRS Web.
¶ 1. Initiate a Request for Further ID
When a Growth is entered against a plate in the Growth Table within the Enter Results section, Further ID can be requested by double-clicking into the empty field under the Further ID column, and a unique reference will be generated:
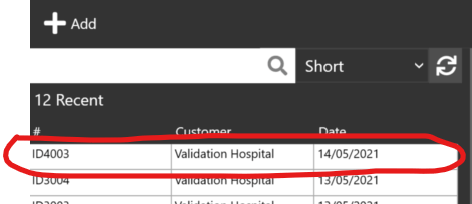
This Further ID will now show within the Identifications Module under the assigned reference:
¶ 2. Enter the Analysis Details
When analysis of the relevant Growths has been completed, select the entry from the list of Identifications to bring up its details on the right-hand side of the window:
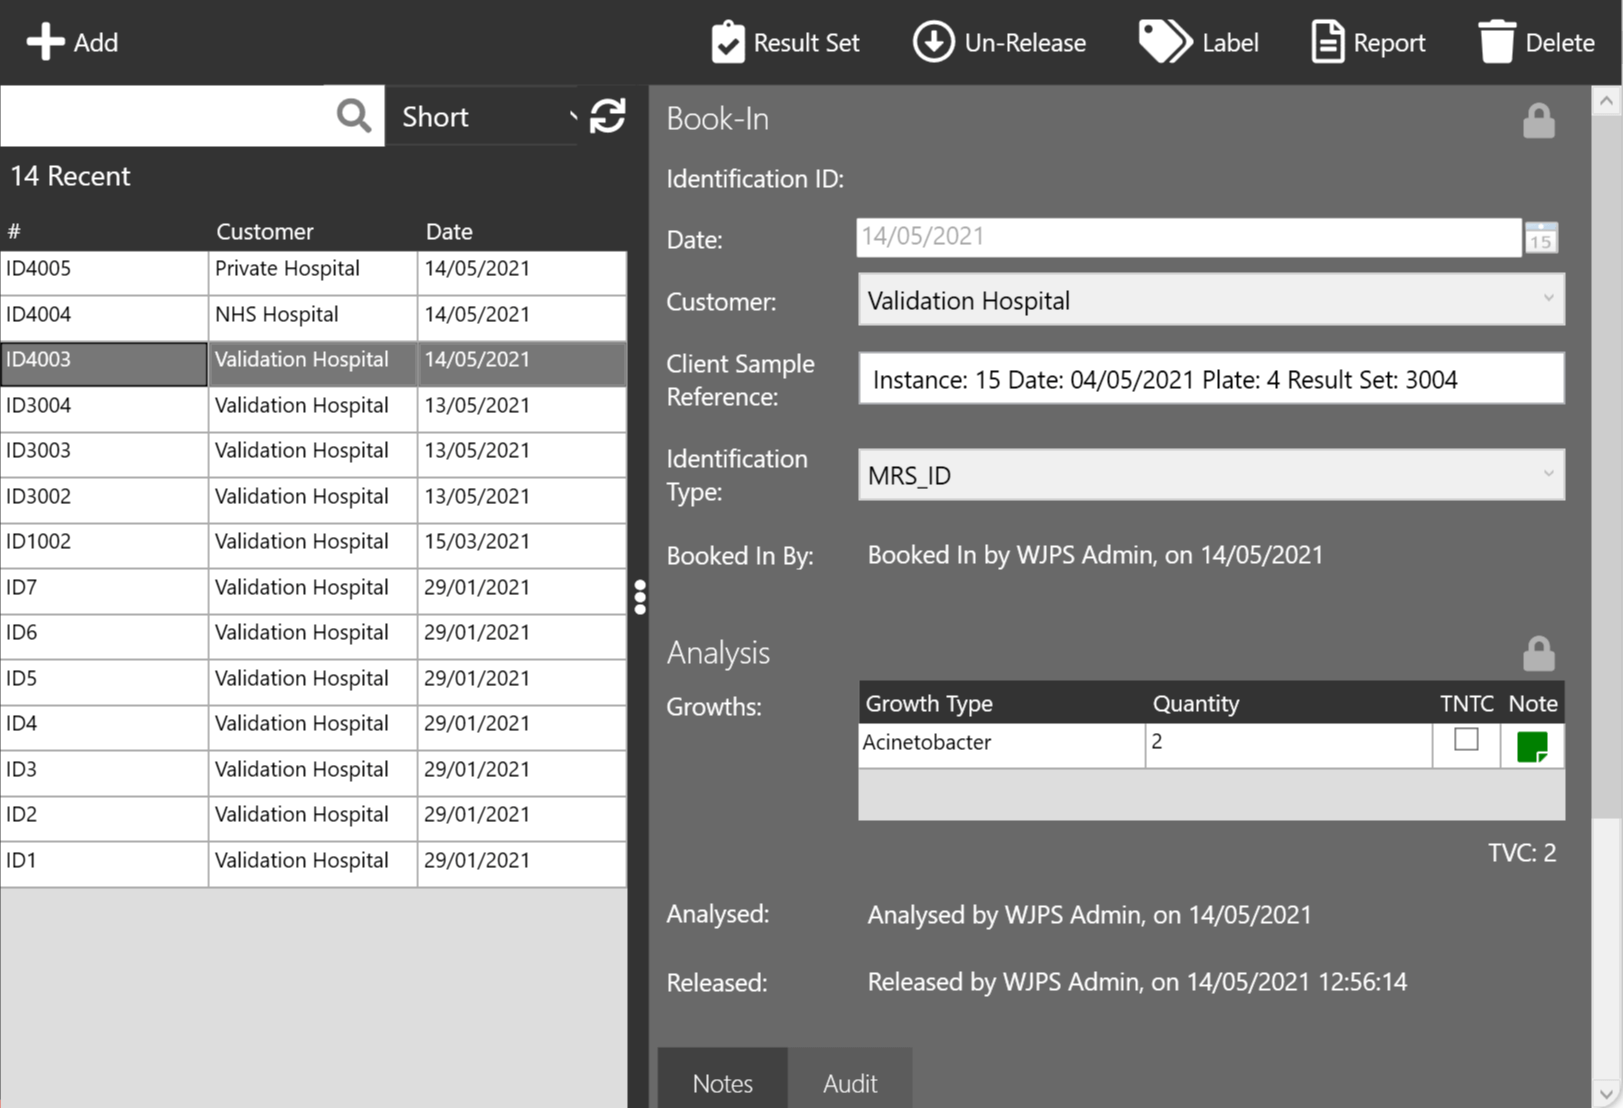
Fill in the form with the details from the analysis.
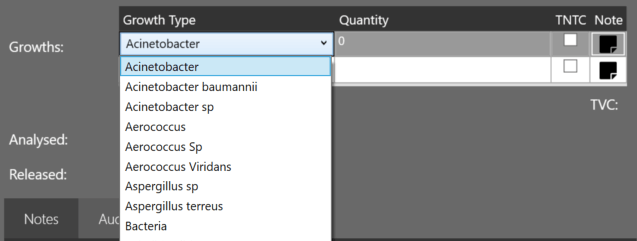
When selecting a Growth Type you should get the Full list of Growths underneath the Growth Category that the sample was visually identified as:
For example, this Growth was Visually Identified as Bacteria when the Plate was read, so we get a full Bacteria Genus and Species list from the dropdown menu:
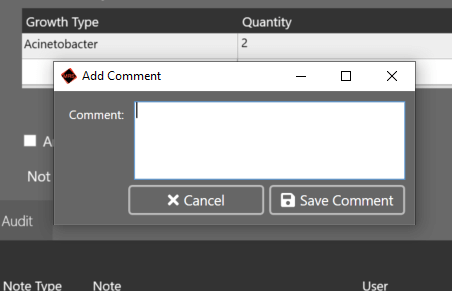
Comments can also be added against each Growth Type, which will be visible to the Customer in MRS Web:
¶ 3. Finalise Analysis
If all Growths have been analysed, check Analysis Complete and the Release button at the top of the window will become active.
If the Growths have only been partially analysed, clicking Save in the top-right corner of the window will Save any information entered and allow you to come back later and fill in the rest.
Click Release to Complete the Identification Process, and release all details from the Identification to the Customer's MRS Web account.
You will receive a brief confirmation notification that the Identification has been successfully released.

¶ Processing an Ad-Hoc Identification
¶ 1. Add the Identification
In the main section of the Identifications Module, click Add in the top-left corner of the window.
This will bring up a blank form on the right-hand side of the window, which can be filled in with the ID information:
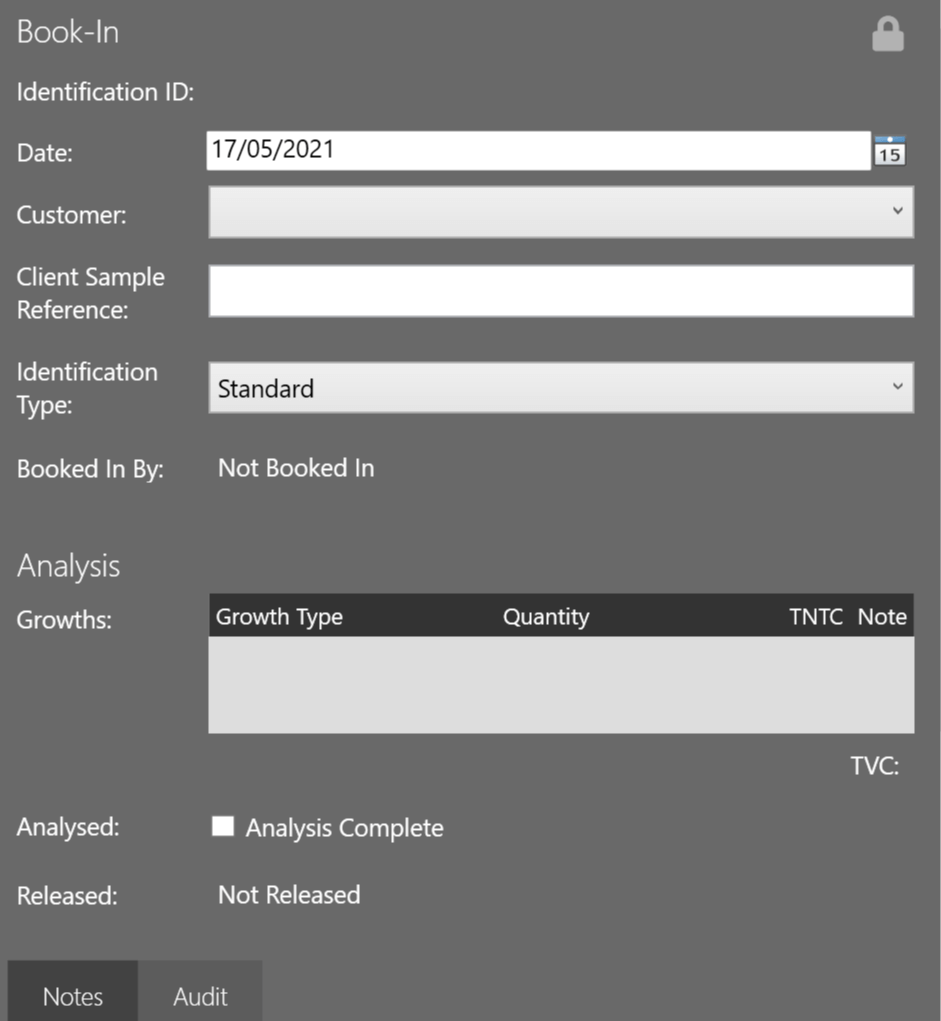
Fill in the fields with the Date, Customer, Client Sample Reference, and Identification Type.
Note that you CANNOT add any Growth details at this stage.
Click Save to Save the newly entered information.
The Growths field will now activate.
¶ 2. Enter the Analysis Details
When the analysis has been completed, enter any Growth Details into the Growths field.
Comments can also be added against each Growth Type.
If all Growths have been analysed, check Analysis Complete and the Release button at the top of the window will become active.
If the Growths have only been partially analysed, clicking the Save button in the top-right corner of the window will Save any information entered and allow you to come back later and fill in the rest.
¶ 3. Finalise Analysis
Click Release to Complete the Identification Process.
You will receive a brief confirmation notification that the Identification has been successfully released.
¶ Unreleasing and Amending an Identification
Identifications can be Unreleased and the Data then overridden before being Re-Released.
This is useful if a mistake in the Release needs to be retracted and rectified, or if an Identification was Released by accident.
¶ 1. Unrelease the Identification
Select the Identification to be Unreleased in the Main Identifications Module:

Above the Identification's details on the right-hand side of the window, click Un-Release
Enter your Password/PIN when prompted.
The Identification will no be marked as 'Unreleased' and will disappear from the Client's MRS Web view.
¶ 2. Amend the Analysis Details
Once Unreleased, the Identification details can be amended by clicking the Padlock against the section of the form you wish to Edit:
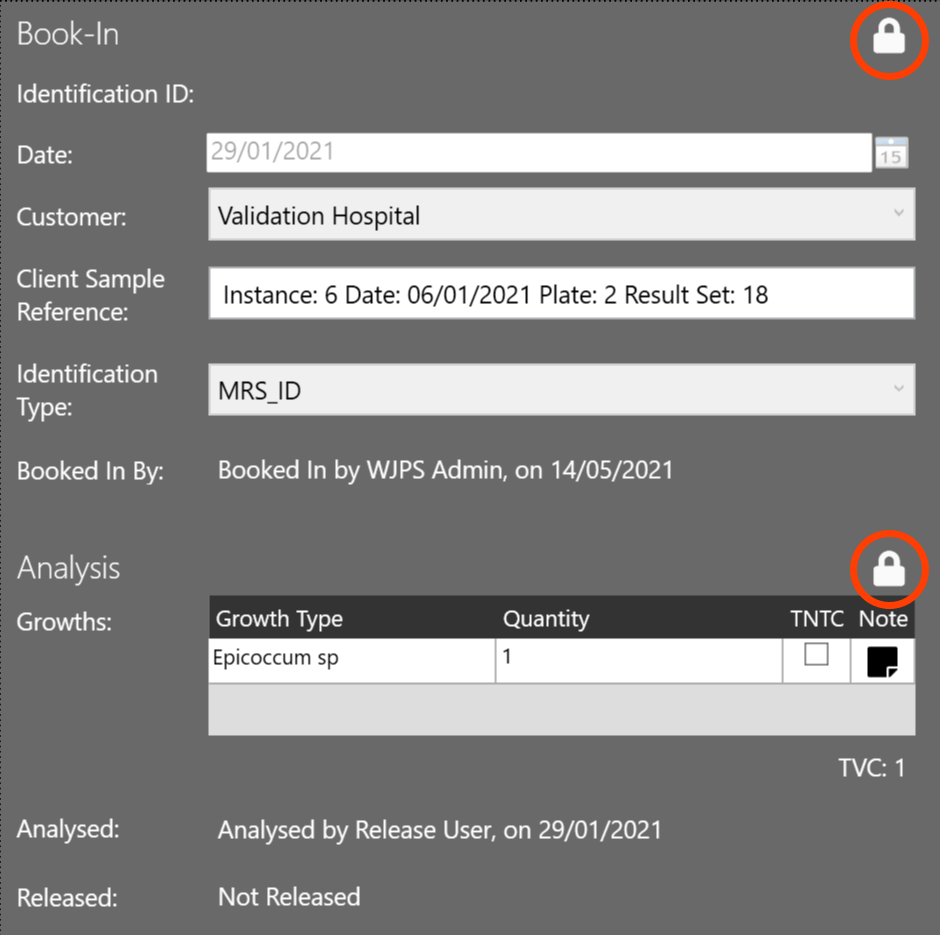
Enter your Password/PIN when prompted and the relevant section will then unlock and allow you to make amendments.
¶ 3. Finalise Analysis
One you have made all amendments, click the Save to save your changes.
If you click Release at this point, the Identification will be released without any changes you have made.
Once saved, Release will release the ID with your newly saved changes and make them available to the relevant Customer within MRS Web.
¶ Send ID for Further IDto Lab (None MRS Lab)
Note that before doing this WJPS must have set up your external labs. Otherwise errors may occur.
¶ 1. Book In Plate
Book In the Identification as normal, using either the Process a Routine Identification or Process an Ad-Hoc Identification.
¶ 2. Send for ID
Make sure the Identification is open and click on an External Lab (None MRS Lab)
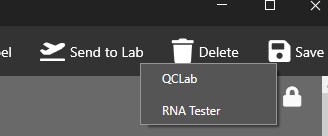
The Identification will then be sent to the Lab via email and set as In Send Queue until the task to send emails runs.
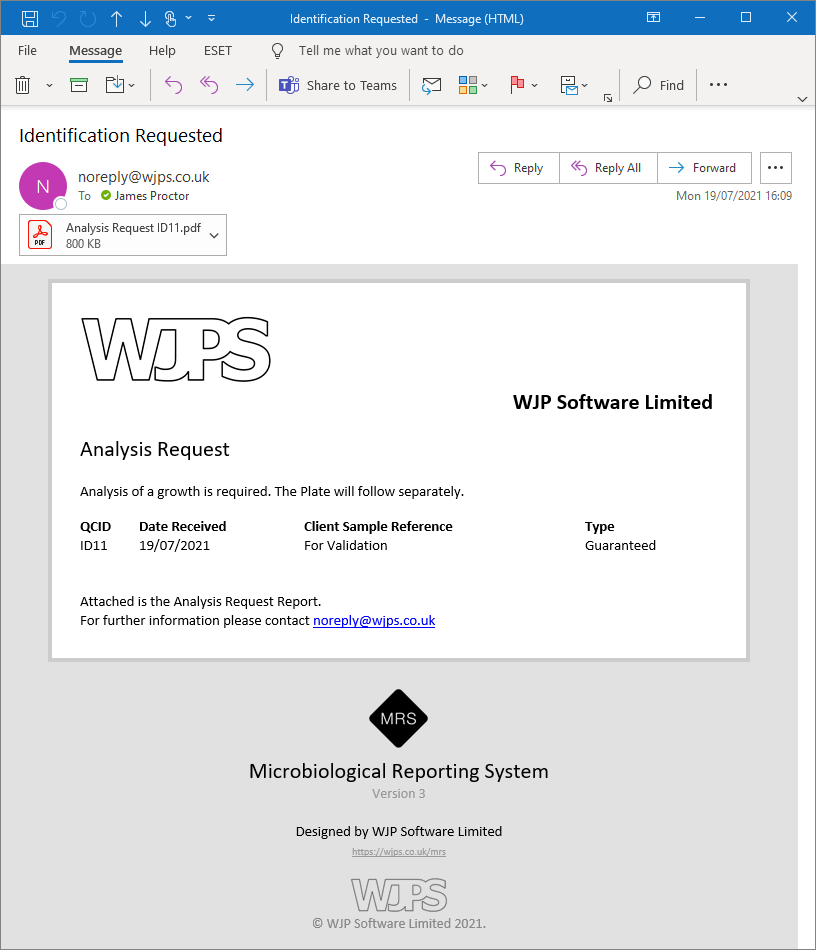

¶ 3. Recieve back the ID
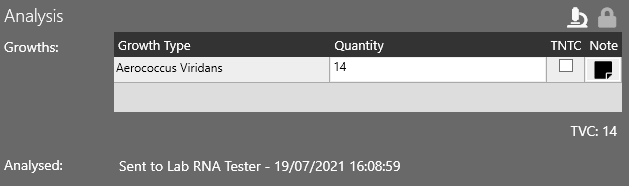
When the ID is recieved back (this will be manual as the Lab you have sent to is a None MRS Lab), open the Identification and click the Manually Recieve Analysis button on the Analysis section of the form. Enter the analyses from the lab and click the Save button.
Once saved, Release will release the ID with your newly saved changes and make them available to the relevant Customer within MRS Web.
¶ Send ID for Further ID to Lab (MRS Lab)
Note that before doing this WJPS must have set up your external labs. Otherwise errors may occur.
¶ 1. Book In Plate
Book In the Identification as normal, using either the Process a Routine Identification or Process an Ad-Hoc Identification.
¶ 2. Send for ID
Make sure the Identification is open and click on an External Lab (None MRS Lab)
The Identification will then be sent to the Lab via email and set as In Send Queue until the task to send emails runs.
¶ 3. Recieved Analysis
Once it has been sent and the Lab has carried out their analyisis on thr Growth they will send it back.
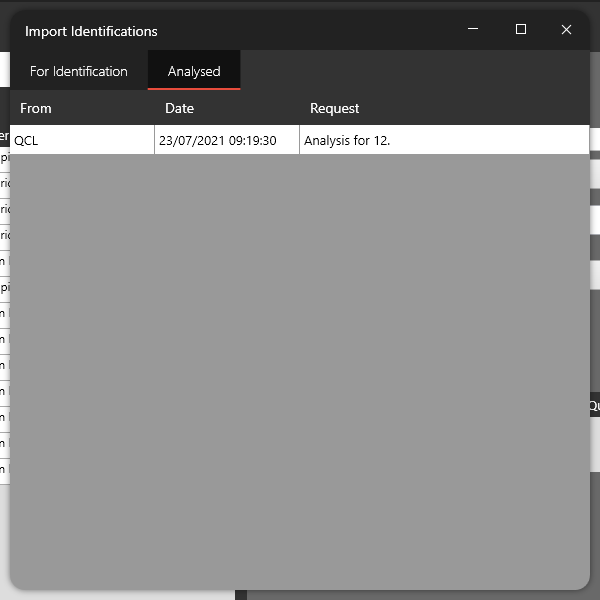
Bring it into the system by open Identifications -> Import -> Analysed and finding the ID to import. It will show the Analysis for ID. in the Request field.
Double click on this to bring the analysis back into the system. Confirm the import by clicking Yes
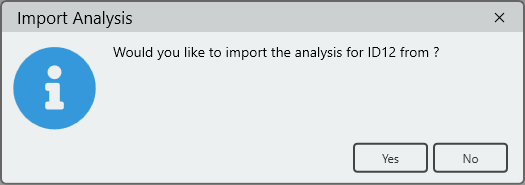
This will import:
- Analysis & Set the Analysed status as completed by the User set for the Supplier.
- Any notes that the Supplier has added.
- The Supplier COA as a file.
Once saved, Release will release the ID with your newly saved changes and make them available to the relevant Customer within MRS Web.
¶ Recieve ID for Further ID
Note that before doing this WJPS must have set up your external labs. Otherwise errors may occur.
¶ 1. Open Import
Bring the ID into the system by opening Identifications -> Import -> For Identification. If there are any listed the need importing, before importing make sure you have the plate.
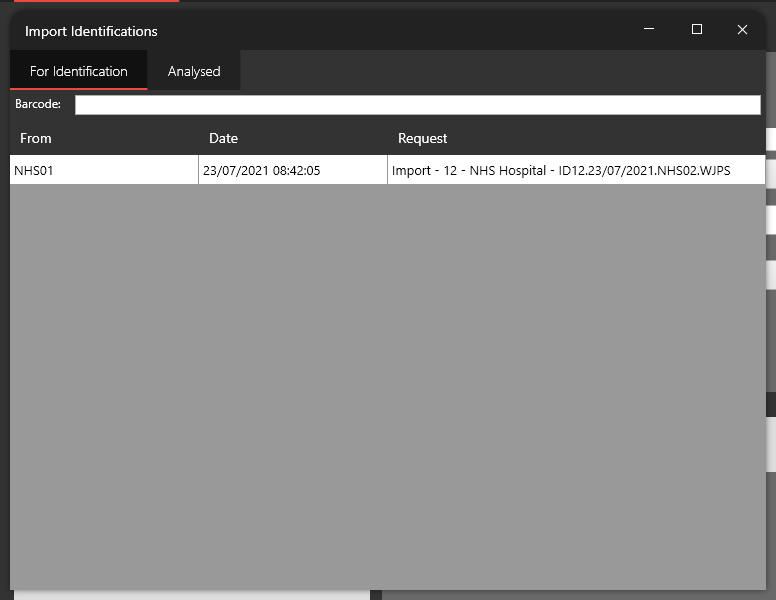
¶ 2. Begin Import
You can either scan the barcode on the plate into the Barcode box, or double click on the Import. The system will ask to confirm that you have recieved the physical plate.
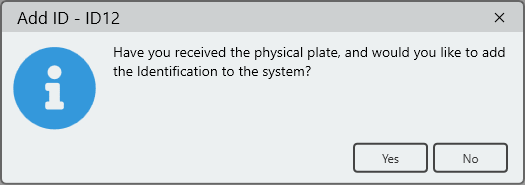
The ID will be booked in and a new Label printed for it. It will therefore be assigned a new ID number that is your ID number not the customers.
¶ 3. Analyse
After the import which completes the book in stage, follow Process an Ad-Hoc Identification to complete the ID.
¶ 4. Release
When the ID is released it will be sent back to the customer.
¶ External Labs
An external lab is someone you send an ID to. It uses the data from your system and this is trasnfered to the ID Lab. They can then return the analysis.
There are two types of Lab
- MRS Lab (0)
- Email Lab (1)
¶ Send
If you are sending to an External Lab you must have.
- A Supplier Setup. The Ref Number must match their site code. Provided by the Site or WJPS. If they are an Email Lab then the suppliers email is where the ID is sent to.
- A User Setup for the Supplier. When analysis is returned it will assign it to a specific user, therefore you must have a user for the Supplier. The User must be Disabled, this stops them login in to the app.
- Ask WJPS to set up an External Lab with this Supplier and User.
- The Send to Button will then be enabled on the Identification.
- Using Import you can now recieved analysis back.
¶ Recieve
If you are a recieving ID's, you must have.
- A Customer Setup. The Customer No must match their site code. Provided by the Site or WJPS.
- Ask WJPS to set up an External Lab with this Customer.
- You can now Import ID requests from Customers and Send Analysis back to the Customer.
- The Data Transfer Server will now look for requests for your Site code and assign these to customer site codes.