¶ Test Result Groups
¶ Creating the Test Group
In some cases, multiple tests may share the same criteria. For this example, we’ll use a Sterility friendly name of “Monday.”
First, click the Add button. You will see the following screen:
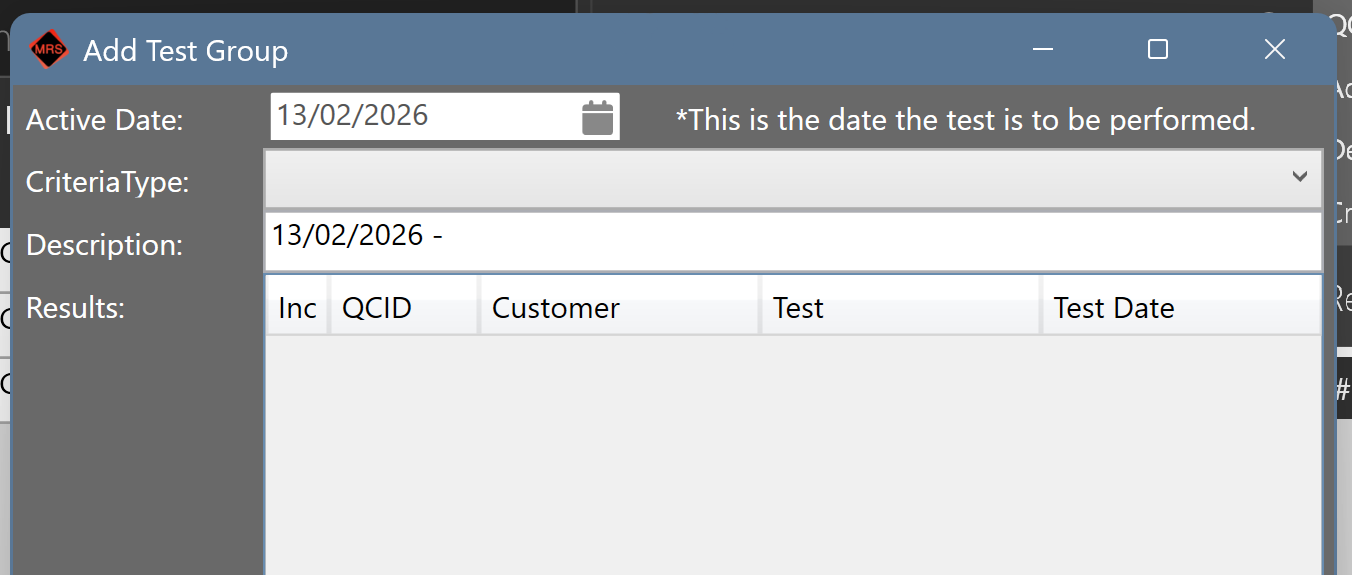
From here, select an available criterion and begin forming a group of tests to be performed.
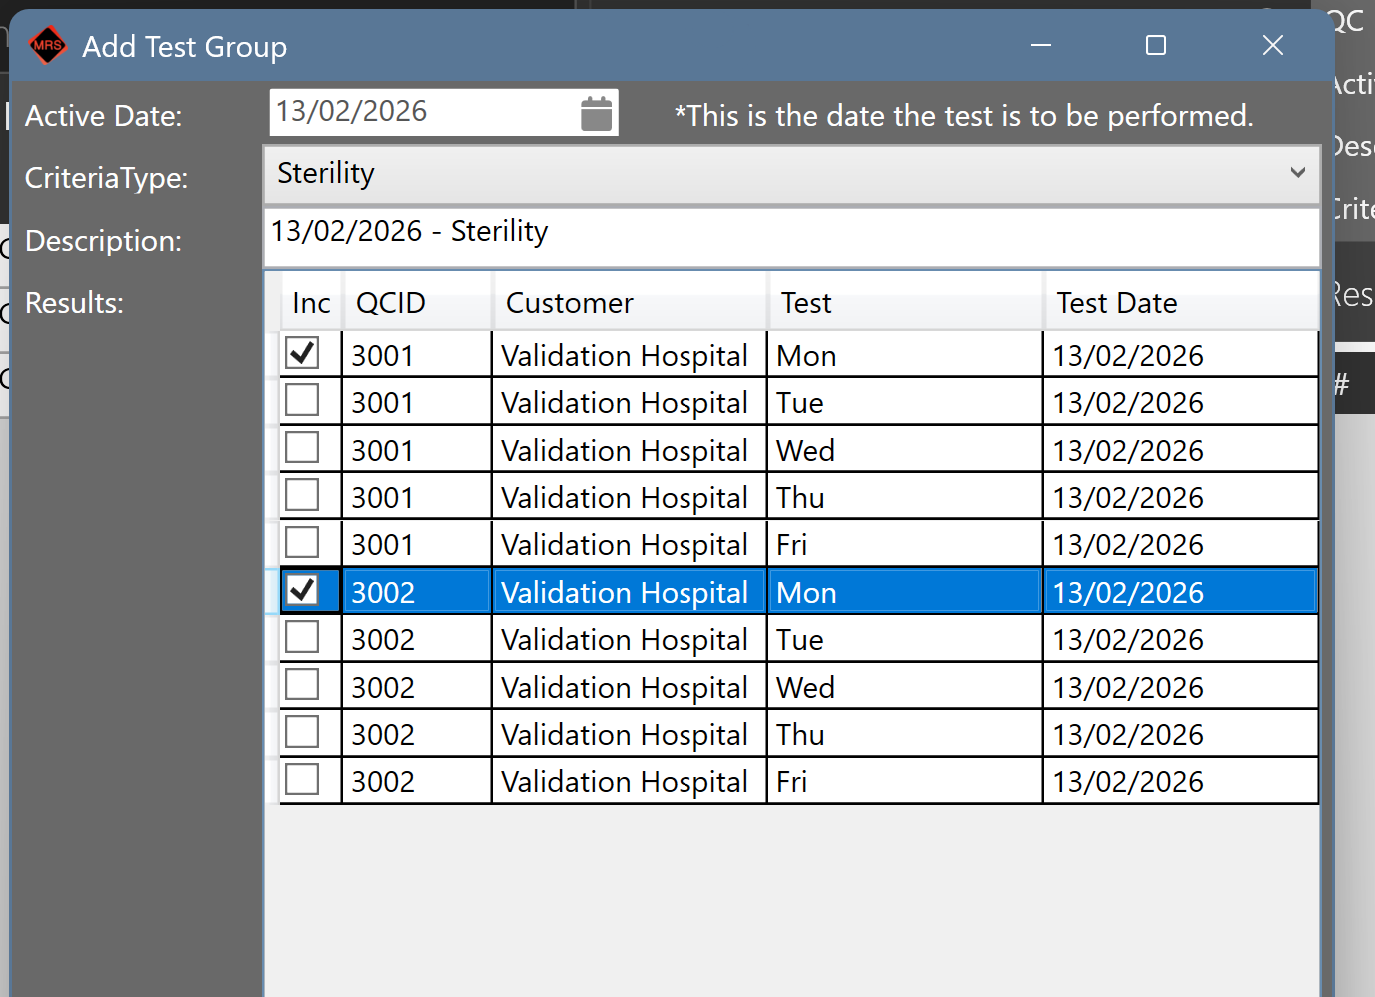
By using the friendly name, you can easily identify your Monday Sterility tests, which are all scheduled for Monday.
Once completed, this will create the Test Group, allowing the user to enter results.
¶ Entering Results
Entering results is similar to standard test entry. The user selects the result and marks the status as Completed.
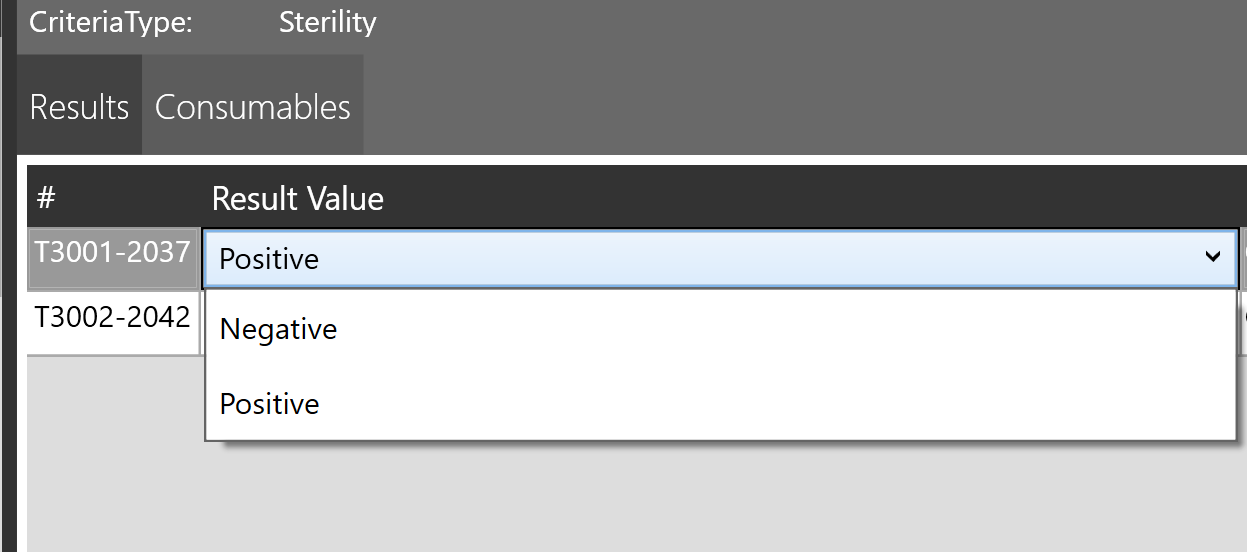
If a user needs to report a consumable, they can add it here, and it will be linked back to the original test.
Once everything is completed, the user can release the final group results back to the original test, which will then be marked as completed.
As shown below in the Test:


¶ Delete a Test Group
With a Test Group loaded, click the Delete button in the top-left corner.

You will be prompted to confirm your login details.
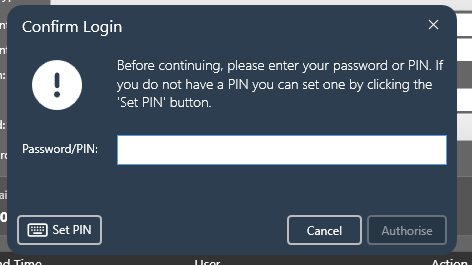
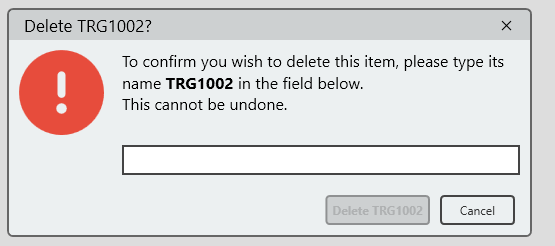
After entering your credentials, MRS will ask you to confirm the Test you want to delete.
The confirmation message displays the QC number, TRG (Test Result Group), and the ID (for example, TRG1002) so you can verify that the correct item is being removed.
Once confirmed, a notification will appear indicating that the Test has been successfully deleted.
