¶ Test Sections
The test section can be broken down into a number of sections which allow for administration of parts of the test. Each of which will be explained and documented below.

¶ Criteria Type Template
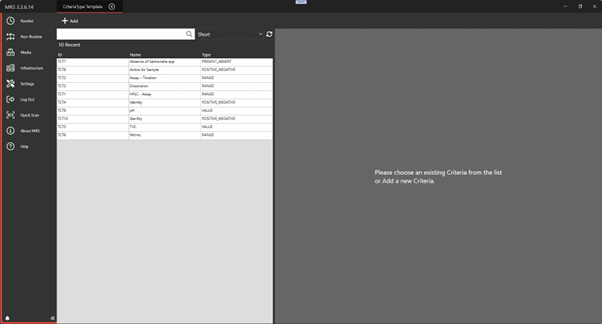
¶ Creating a New Criteria Type
To add a new criteria type click the add button at the top

This will open the left hand side pane
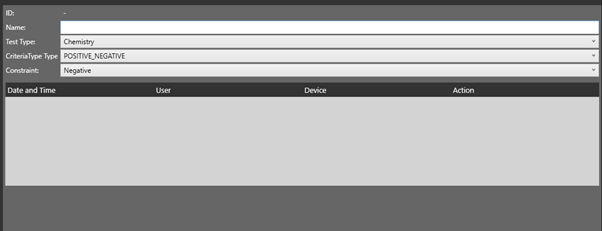
Id: This will generate itself
Name: What this Criteria will be called
Test Type: Options of Chemistry, Sterility and MicroBiology
Criteria Type Type: and Constraint
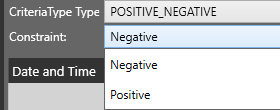
The first Criteria Type is Positive_Negative with a single Constraint of Positive or Negative
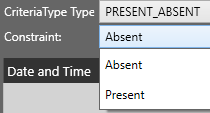
Secondly Present_Absent with a single Constraint of Absent or Present
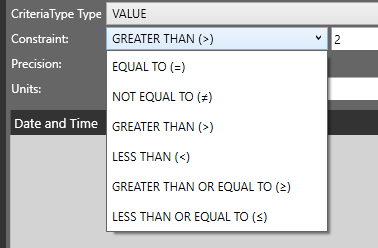
Thirdly Value has a single Constraint but it can have any number Equal, less(or equal) and more(or equal) to the chosen number.
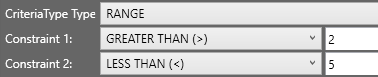
Fourthly Range has two Constraints like which set the range between two numbers.
e.g
A Range between the values of 2 and 5
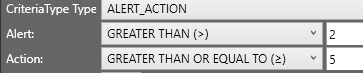
Finally Alert_Action has two constraints and will trigger a Alert or a Action
e.g.
if my result is 3 it will make a Alert. And not a Action
From this there is Precision which depending on the criteria will show for values. Precision takes a number and will do that many decimal places E.g. Precison of 2 will be to 2 decimal places

Finally Units, for anything which requires a number value you can assign what type of units to use e.g. ml, Ph or even Elephants !
Example
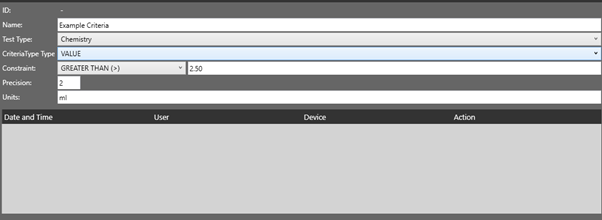
Once finished Click Save and it will generated a ID for the Criteria and can now be used in Templates.
¶ Templates
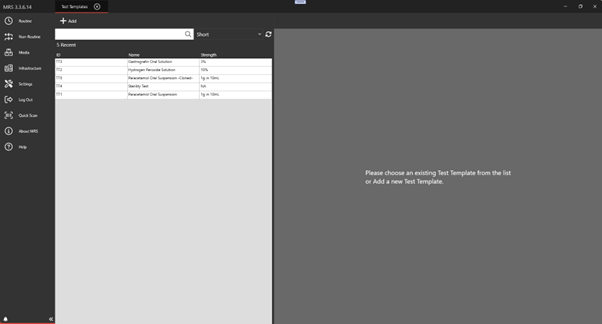
¶ Making a New Template
Click Add and this will open the Left-Hand pane.
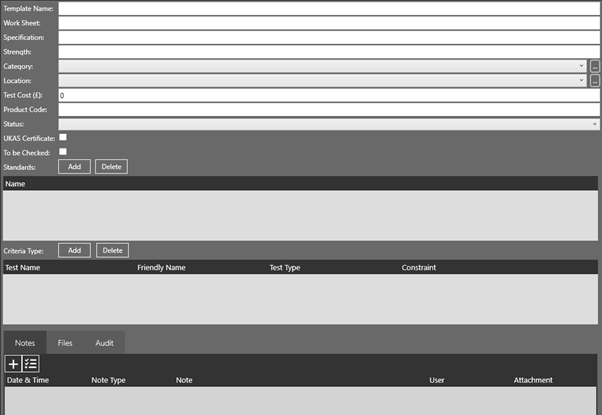
¶ Key Areas
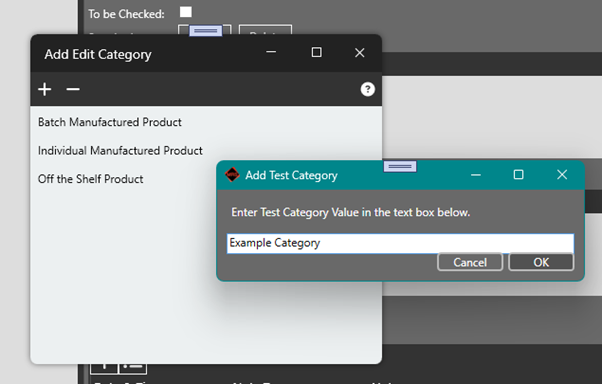
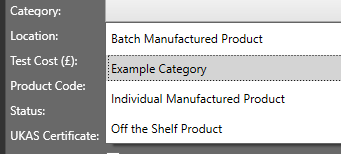
Category and Location
These are identifiers for your template plate which have Editable sections by clicking the three dots at the side of the dropdown box (…)
Next is Status
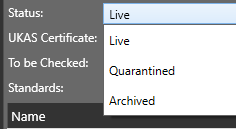
This has three stats
Live being live and active
Quarantined the template is Ready to be checked over before being live
Archived the template is no longer being used.
Next section UKAS Certificate and To Be Checked/Approved
The UKAS Certificate while ticked WILL show the certificate.
The to be checked/approved if this ticked when you create a Test it WILL need another user to Approve the test. (Will be covered in Test)
MRS Version 3.4 Onwards
Test turnaround expected time the template should take to complete.

Standards:
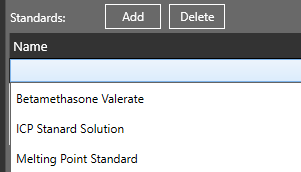
To add one click Add button and then click the white box to get a List of current Standards (Generated in MRS Media Batches – Category Standards)
¶ Criteria Type
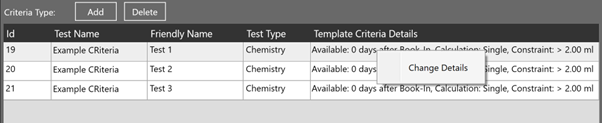
By adding Criteria that we have set we can build a collection of Criteria we wish to test.
Example

As shown above, I’ve applied the Same Criteria but set a friendly name to the First test etc…
This allows you to build a template of what criteria you which to Test and have a report of the results in the Test section.
MRS Version 3.4 Onwards
Double-click or right click to change Details
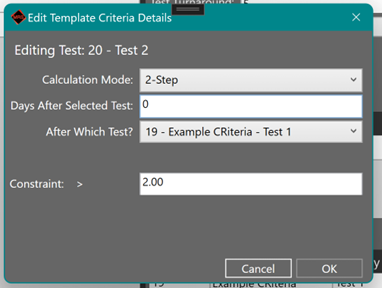

Once Saved you’ll have something like this:

¶ Tests
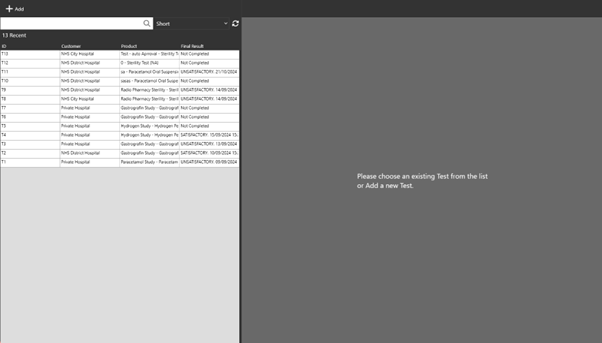
When adding a new test the left-hand pane will open
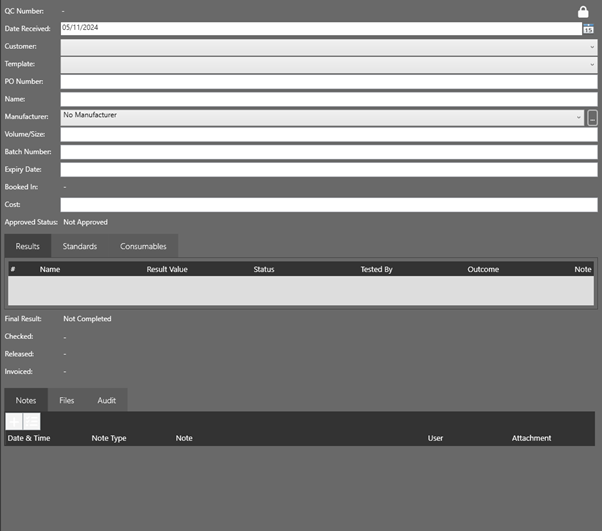
Date : will be set to Today’s date and can be changed if need.
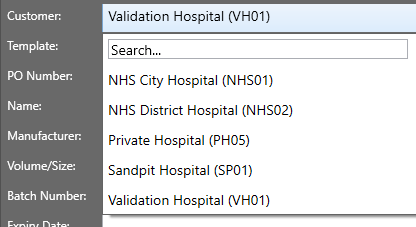
Customer: Here you can set which customer the Test links to.
Template: The list of Templates available to the user
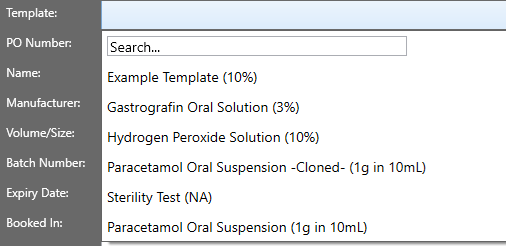
MRS 3.3 : Please note that the List of Templates has the Live ones at the top, then Quarantined, then Archived.
MRS 3.4 The list will only show Live Templates.
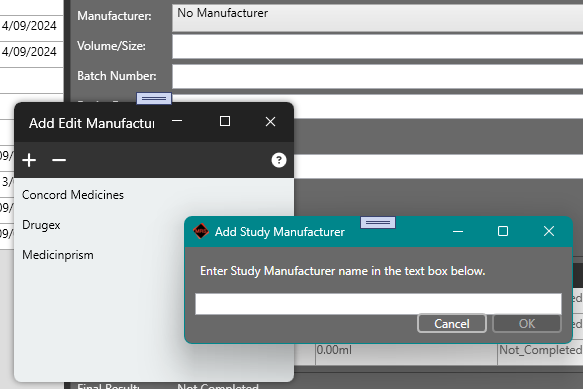
Manufacture: This can be set to what you need by Clicking on the three dots (…) at the end of the drop down and you can Add or remove Manufacture
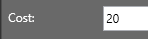
Cost: In MRS 3.3 this value is the cost of running this test. Therefore Test Cost of Example Template is £10. The Customer is Validation Hospital which has a customer type of Validation with a Cost Rise of 100% setting the Cost to £20. This will depend on the Customer and the Customer type Set in Customer.
In MRS 3.4 the two cost types.
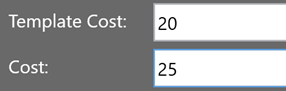
Template Cost is the estimated cost based off the template and the Customer
Cost is a free text box that a user can edit.
When you have filled in areas of a new test it will have a QC Number and the approved status will show.

Unless the Template’s “to Be Checked/Approved” was NOT Checked. Will show Approved by the user making the Test and the Time and Date.

MRS 3.4 Has the expected turnaround based off 5 days turn around in template

MRS Version 3.3
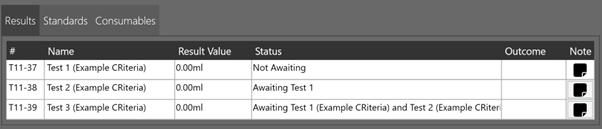
When the Results pane is active, you can enter the results of each test provided.
Note! By entering the Result Value of the test and setting the Status to complete the system will save the Test Result and will have a ‘Tested By’ and ‘Outcome’ will auto-fill then will Grey out the fields. Locking the result. The only way to Unlock is by reverting the Status to “Not_Complete”. Reverting the ‘Tested By’ and ‘Outcome’ Values to blank.

MRS Version 3.4
Follows MRS 3.3 however (the two stage and average)
Completing the Results
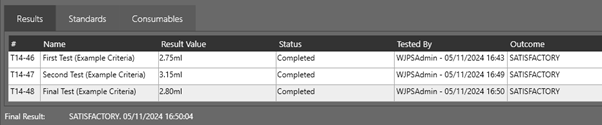
Once all are completed the Final result will show.
NOTE! If one test fails it will show Unsatisfactory.
Finally at the end of the Test
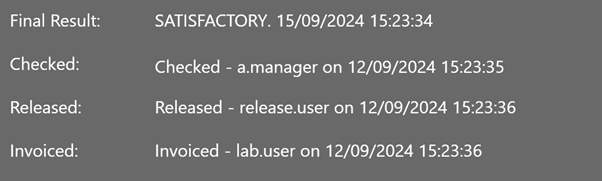
Each section will be audited by users and Date Time