¶ Capturing Plate Images with MRS Cube
¶ Adding an Image
In various sections of MRS, such as within ‘Enter Results’, ‘Identifications’, or the ‘Growth Type Editor’, you have the option of either Capturing an image using the MRS Cube, or uploading one from your computer.
One, or multiple images can be uploaded, and these images will then be attached to either the selected Result, Identification, or Growth Type, for future reference.
¶ Capturing an Image
Regardless of which section you’re in when capturing an image, the Plate Capture interface will remain the same:
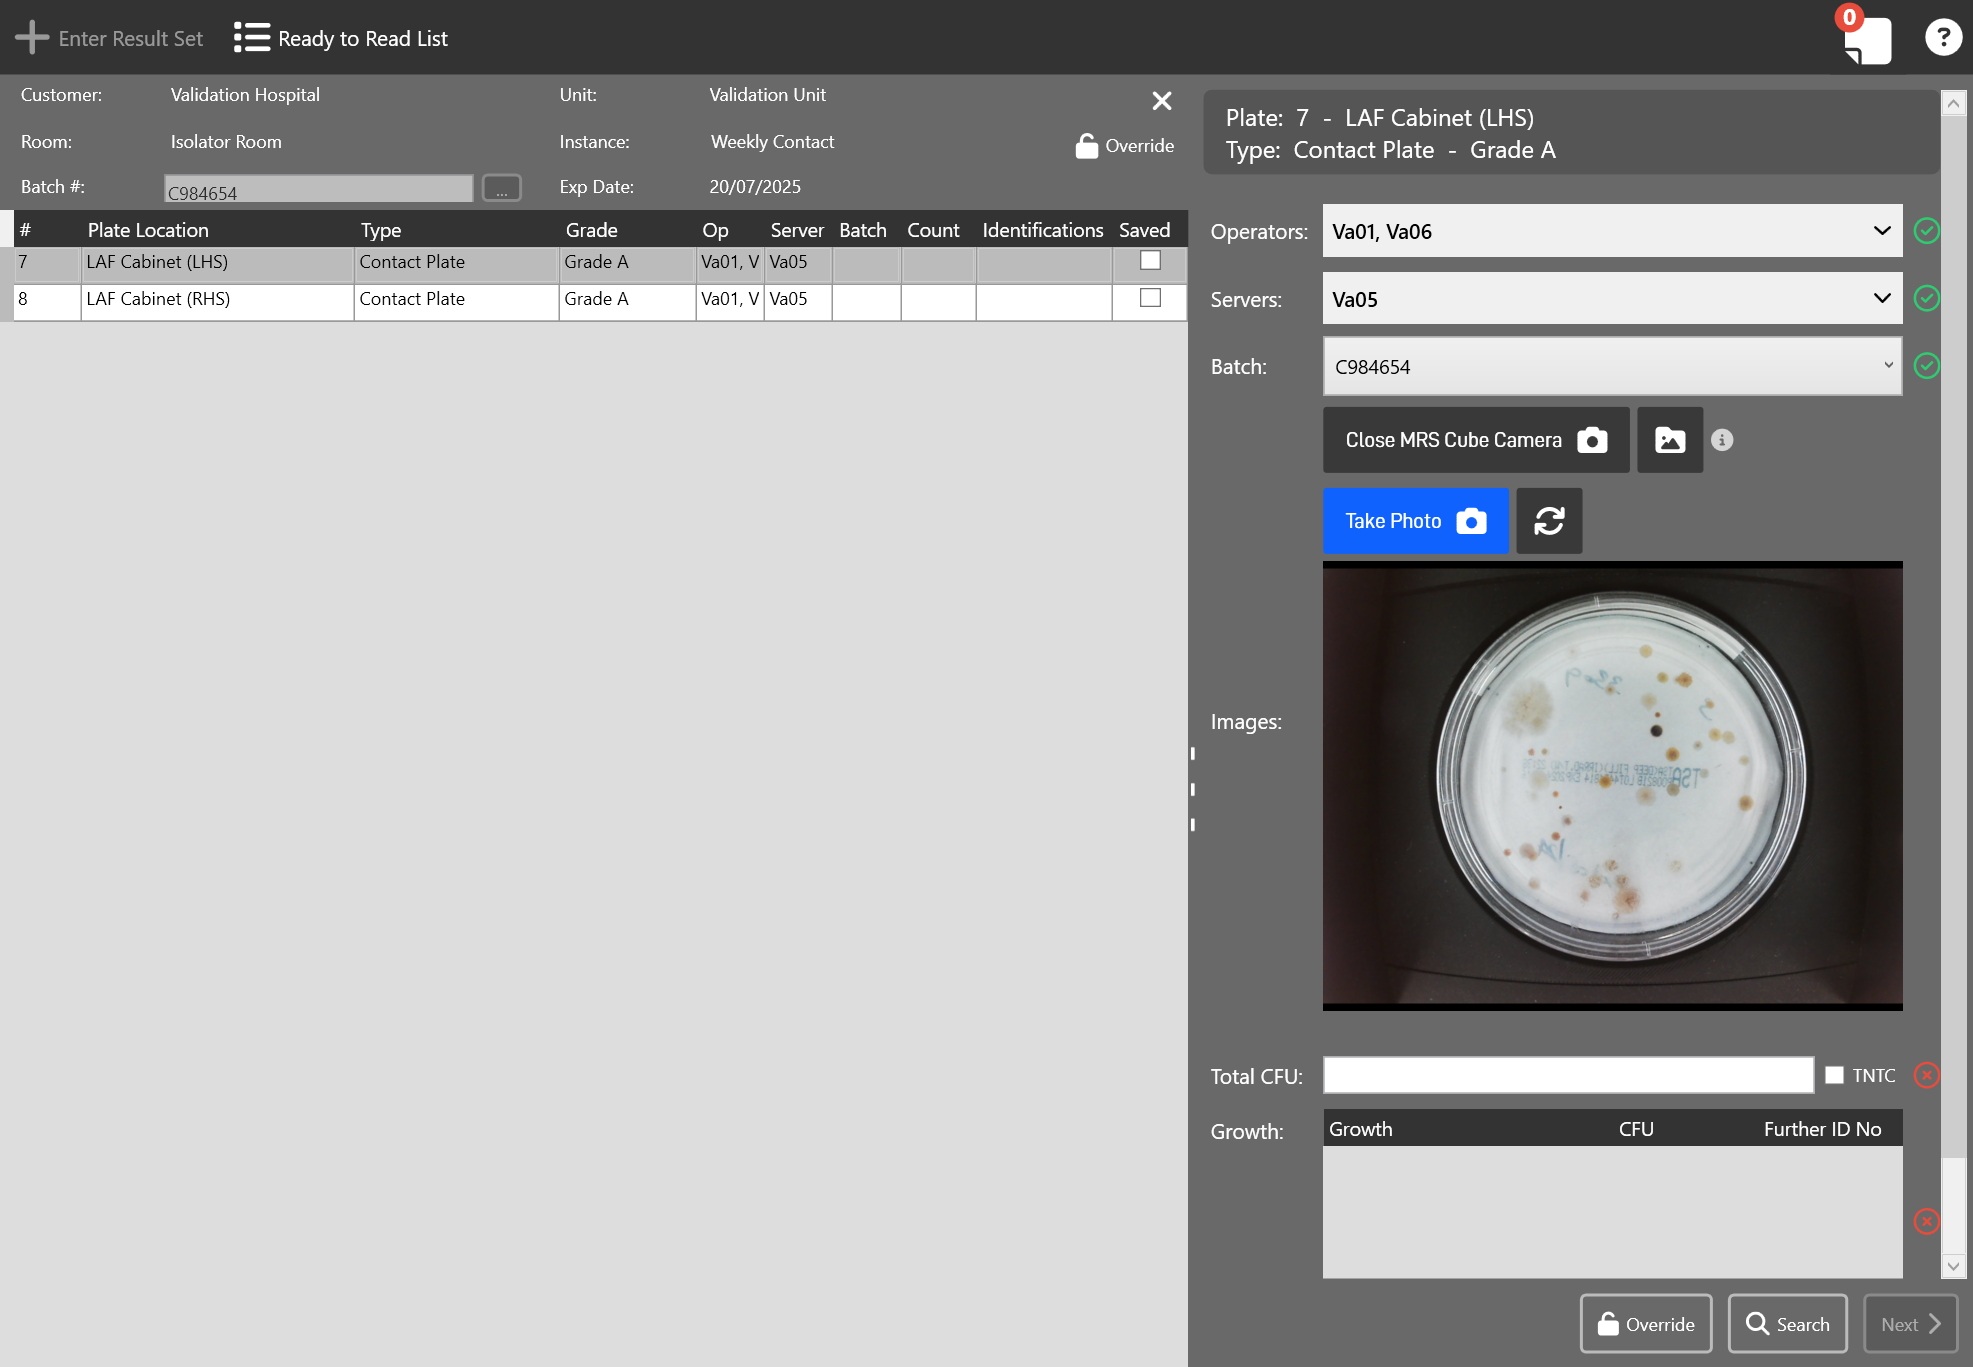
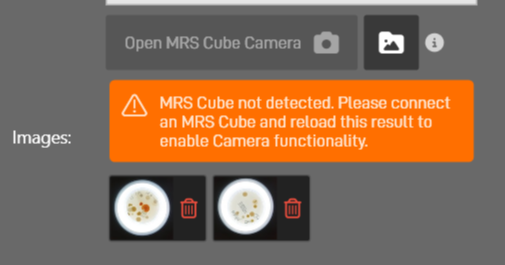
- Open/Close MRS Cube Camera Will open/close the image preview window below, which displays the live camera feed from the MRS Cube. This option is only available if an MRS Cube is attached to the device.
- This button will allow you to select and upload an Image from your own machine. These must be JPG images, with a max filesize of 20mb.
- Take Photo Takes a photo from the MRS Cube and attaches it to the selected Result, Identification, Growth Type .etc
- Re-Initialises the camera. Useful if the display freezes or doesn’t display correctly.
The camera can only be used for one thing at a time. If the camera is already in use within another tab of MRS, or another app, the output display will turn black. If this happens, you should close the other tab/app using the camera, and then click the ‘Re-Initialise’ button.
Captured images display as thumbnails at the bottom of the Plate Capture section. These can be deleted by clicking the Trash Can icon attached to each one.
¶ Viewing an Image
On items with Images attached, you can click on the image thumbnail to open up the image viewer. This will open up a new window containing the selected image alongside any relevant information. If Plate Markup is enabled, the Markup Editor Pane will display on the right-hand side and you can toggle the markup overlay on/off.
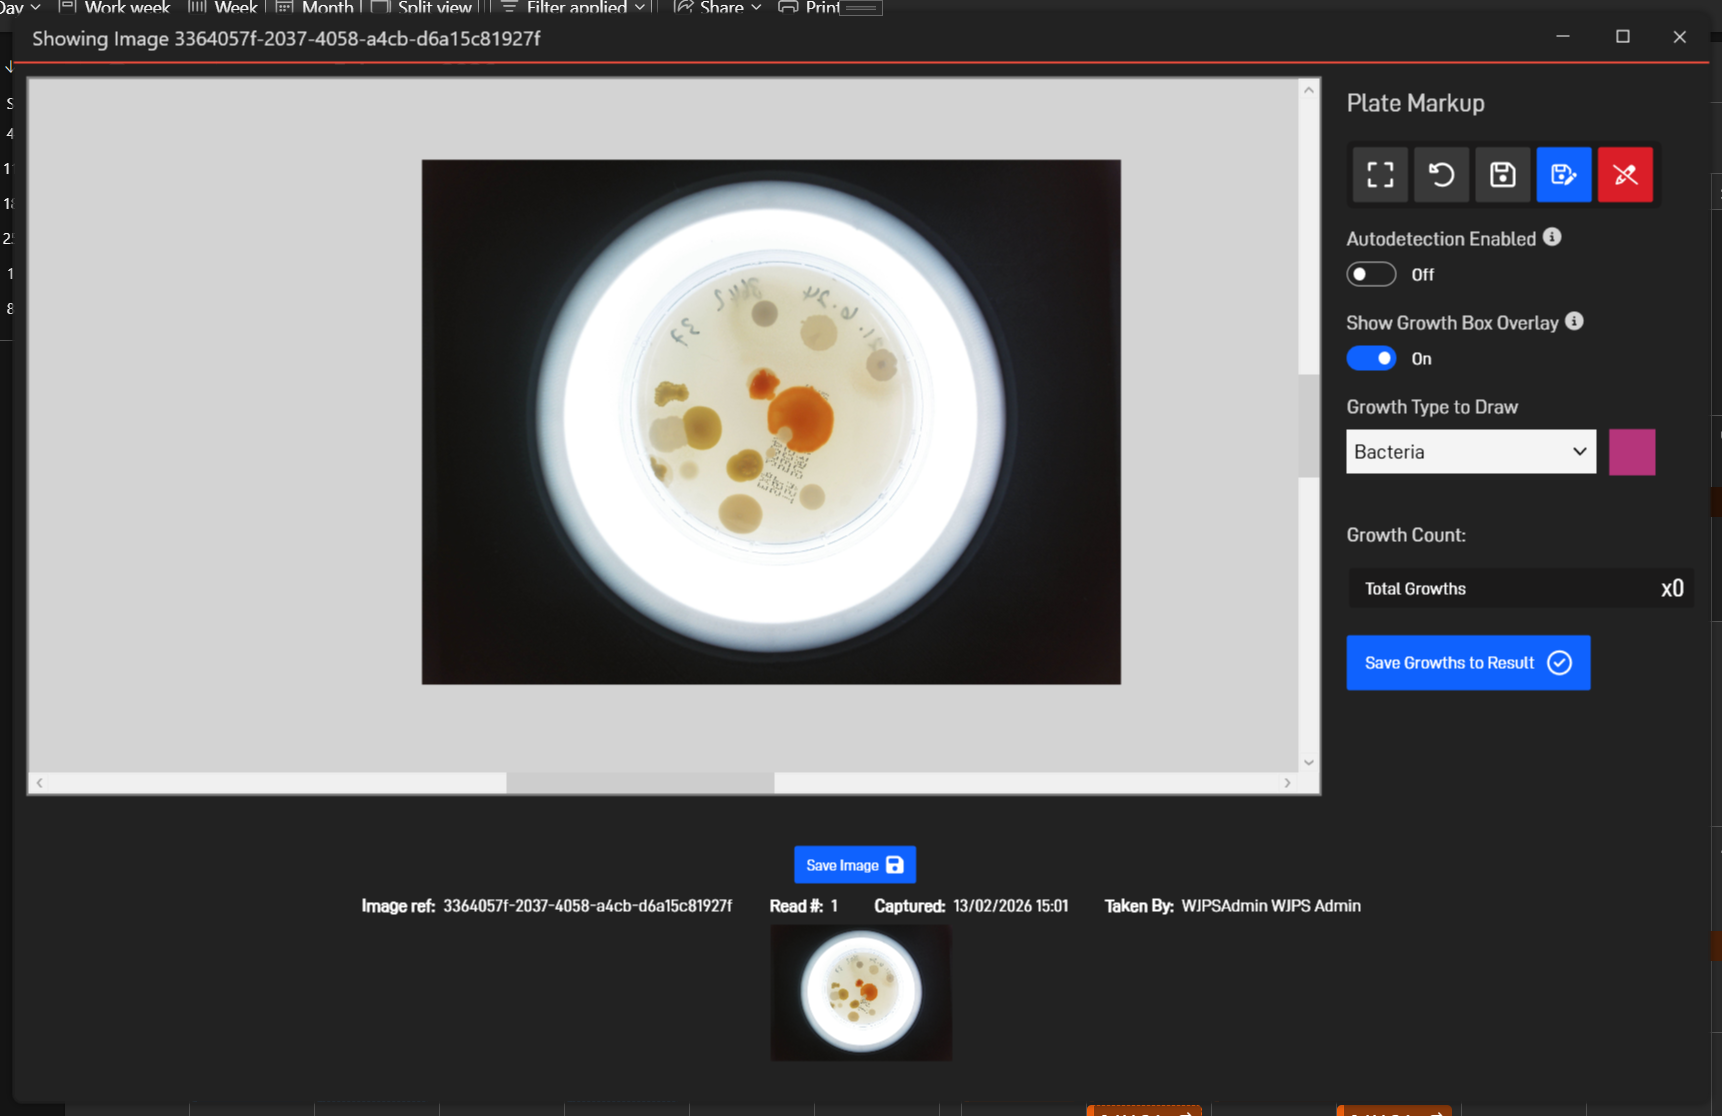
Within the image preview section, you can pan the image by holding down the middle mouse button and moving the mouse.
Zoom in/out by holding down Ctrl and using the scroll wheel on your mouse.
Save Image will allow you to save a copy of the image to your computer.
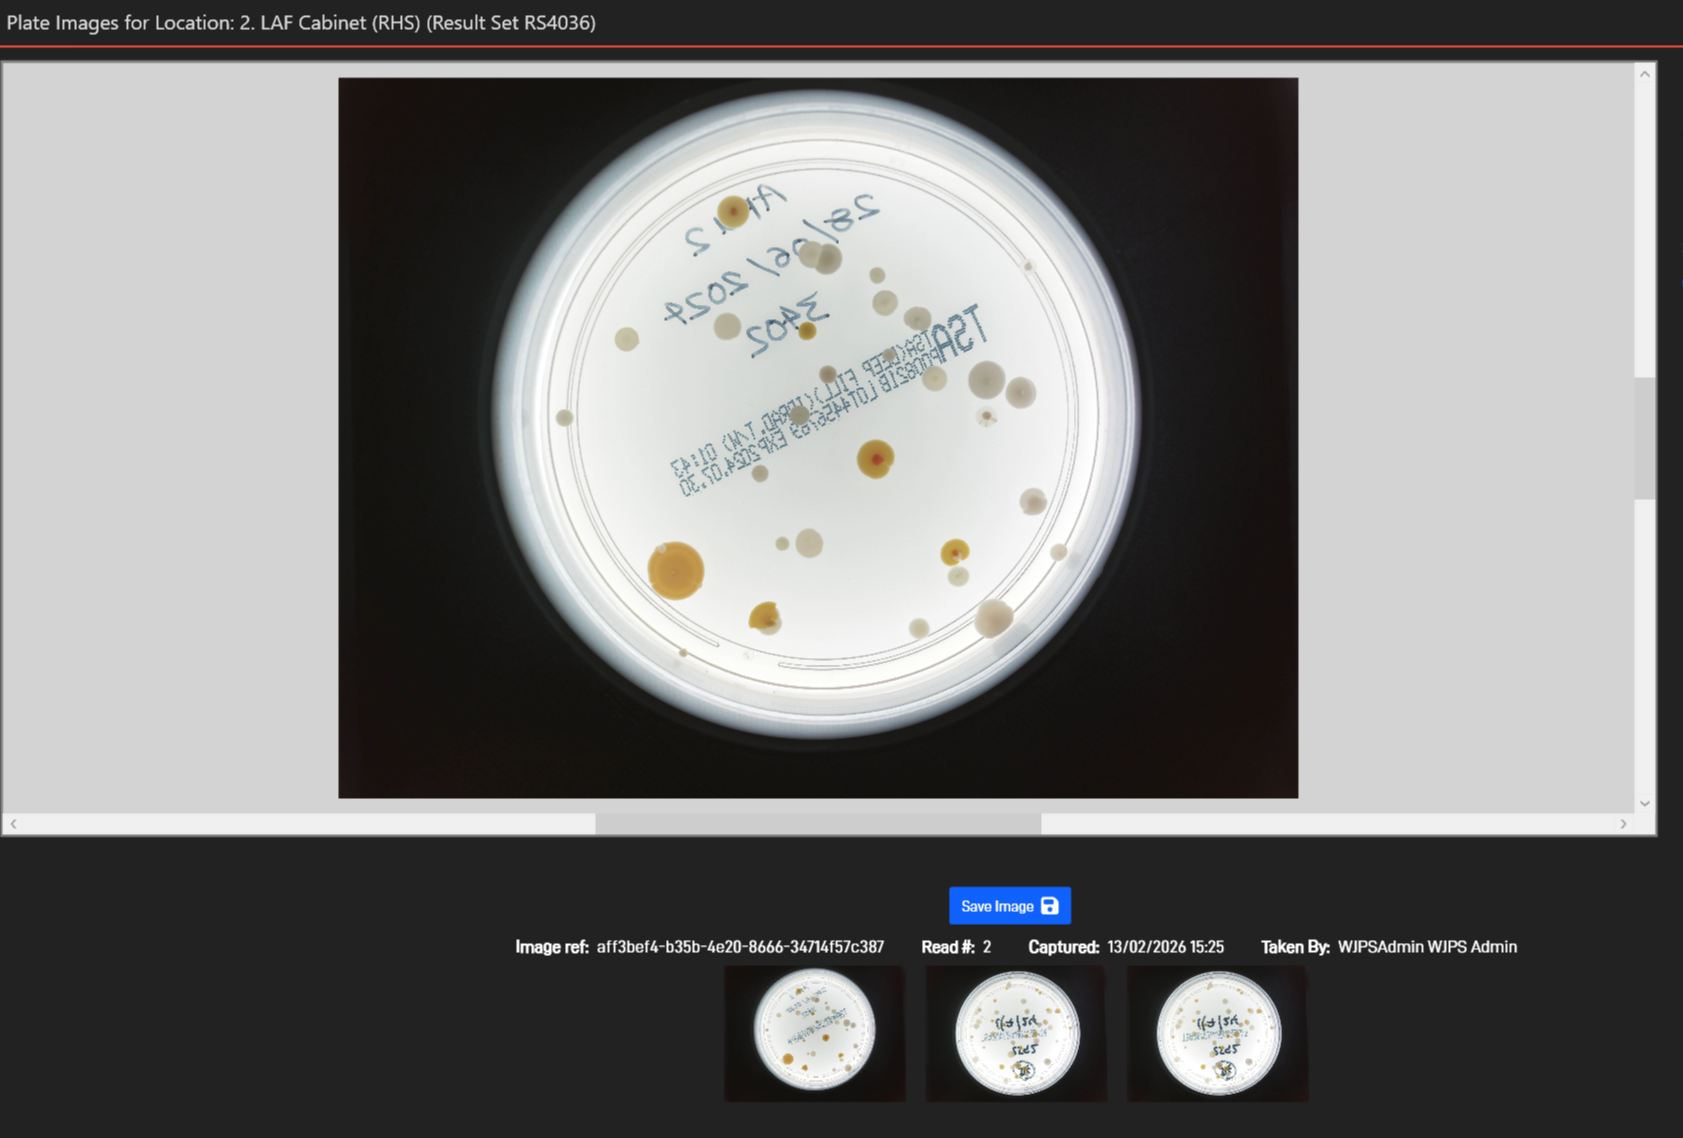
¶ Viewing an Image Gallery
In some instances, such as when Viewing or Releasing results if a Result has images against it, a button will be displayed which will open up an image gallery:

This is similar to the image viewer, but you can quickly swap between all attached images by selecting them from the bottom thumbnails: