The Media section allows you to manage inventory of the various Media products used throughout your lab, in addition to their purchase and distribution to your customers.
¶ Media Products
¶ Overview
The Media Products section allows you to add individual products to the system and specify costings, min/max stock levels and acceptance criteria.
¶ Adding a Media Product
¶ 1. Entering Product Information
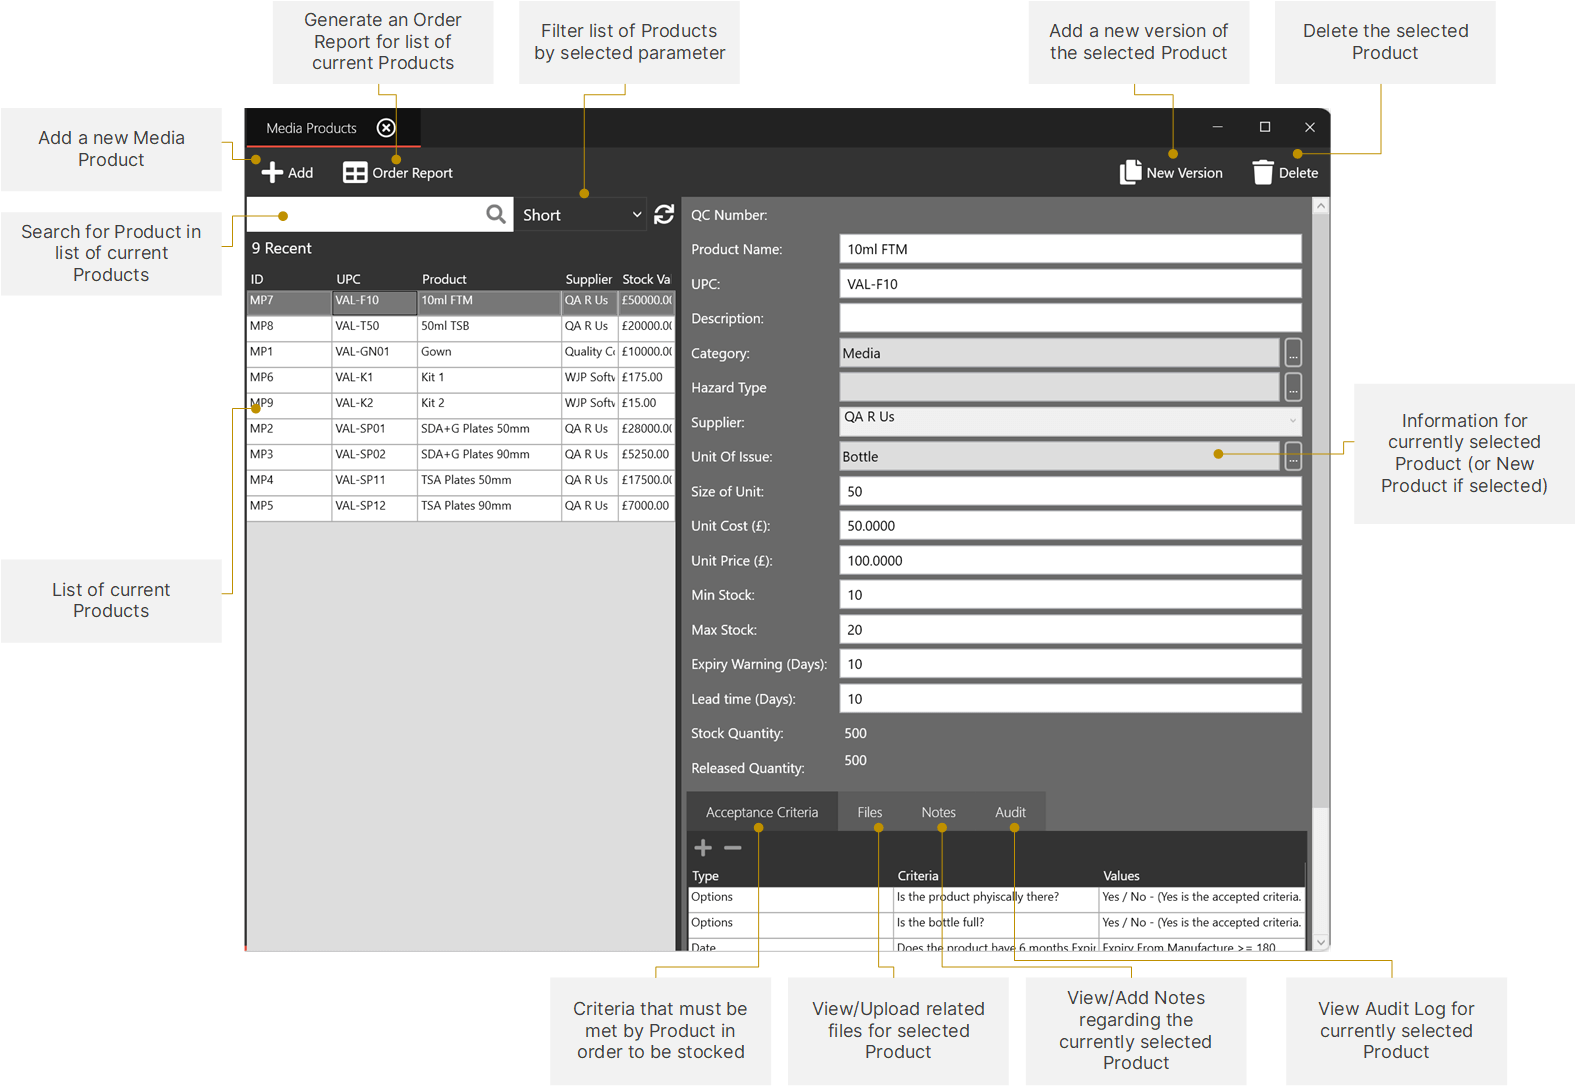
New Media Products can be added by clicking the Add button in the top-left corner.
The Product information pane on the right-hand side will then reset and allow a New Product's details to be entered.
The fields are as follows:
- Product Name (required)
- UPC (Unique Product Code)
- Description
- Category (required)
Existing Product categories can be selected from the dropdown list, or new ones can be added using the button next to the field. - Hazard Type
Existing Hazard Types can be selected from the dropdown list, or new types can be added using the button next to the field. - Supplier
This field is driven from the Infrastructure Supplier Section - any new suppliers added here will show in this list. - Unit of Issue
Existing Units of issue can be selected from the dropdown list, or new ones can be added using the button next to the field. - Size of Unit
- Unit Cost (£)
- Unit Price (£)
- Min Stock
- Max Stock
- Expiry Warning (Days)
- Lead Time (Days)
¶ 2. Specifying Acceptance Criteria
When adding a new product using the form outlined above, you will also be able to set Acceptance Criteria that must be met for new stock of the selected product.
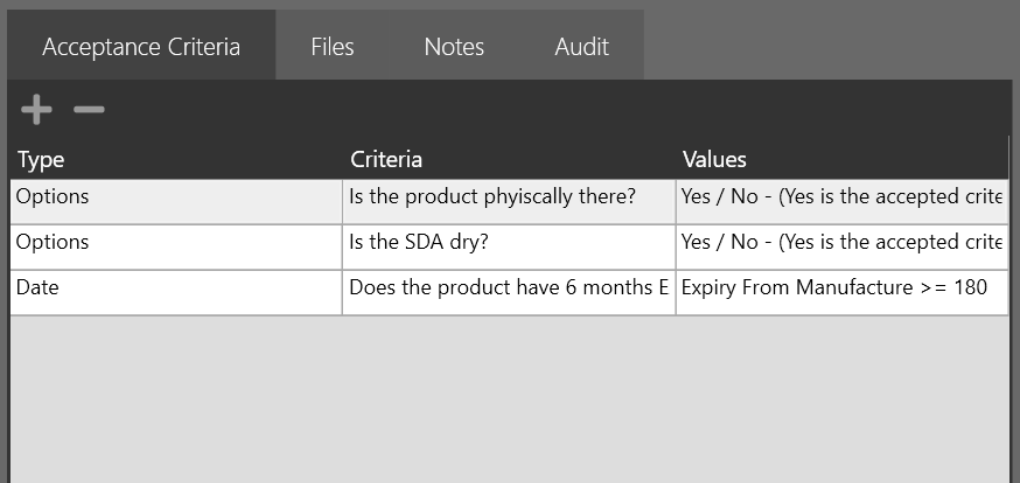
Acceptance Criteria can be added by clicking the button which will bring up the Criteria Addition form:
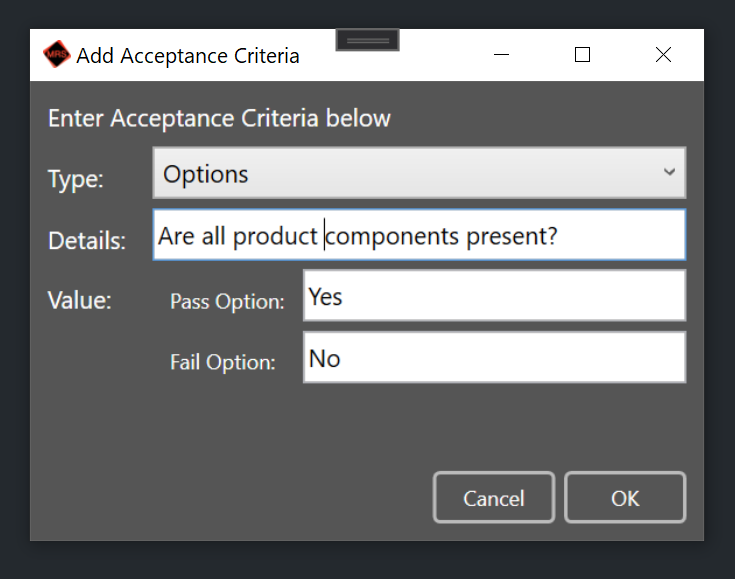
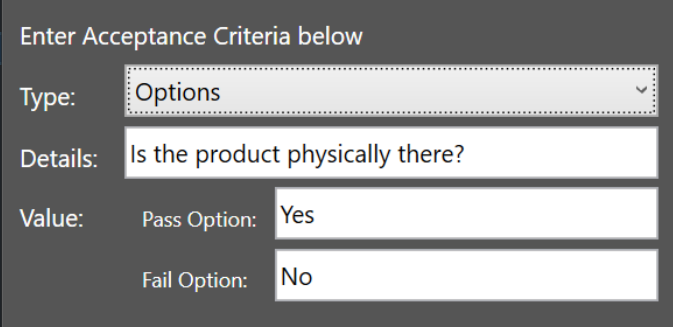
First you must select the type of Acceptance Criteria you want to add to the product:
- Options
- Date
- Kit Result
And then in the Details field, enter the criterion against which the acceptance will be checked:

The Value field will then alter depending on which Criteria type has been selected:
User can enter the values of Pass and Fail options for the Acceptance Criteria.
User can specify the Expiry date of the product, based on either the Manufacture Date, or on the Date of Receipt.
In the below example, this product will count as expired if 180 (or greater) days have passed since its Manufacture Date, and it will fail Acceptance if this is triggered.
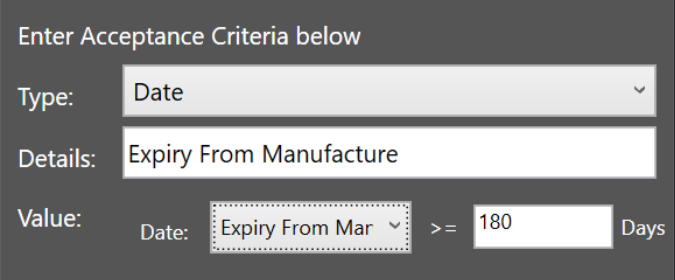
(Not Yet Implemented)
¶ 3. Add Related Files
To add any related files (such as instruction manuals) to a Media Product, select the Files tab next to Acceptance Criteria and click the button to add a file.
You will then get the option to rename it before it is saved:
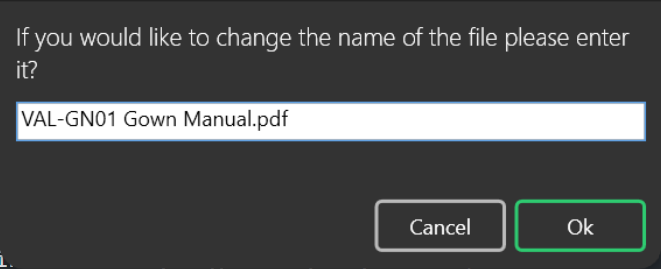
Click OK it will be added to the list of Files attached to the product:

¶ 4. Save the Product
When all relevant information has been entered, click the Save button in the top-right corner to complete the process.
¶ Editing an Existing Product
By default, Products that have been added and saved are locked - if you select an existing product, you will not be able to Edit its information in the right-hand pane without an additional step.
To Unlock Edit mode, simply Right-click within the Edit Pane and select the Override option from the right-click menu, and you will be able to amend its details.
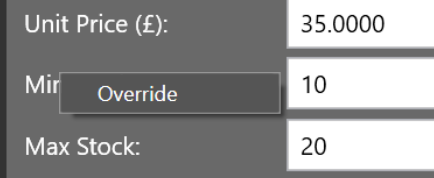
Once you have made your edits, click the Save button in the top-right corner to save your changes.
¶ Adding a New Version of an Existing Product
On occasion a product may be updated with a newer version and rather than editing the existing product or adding it as a totally new one, MRS allows a simple way of adding a new version of it while keeping your product list uncluttered and allowing for stock of the previous version to exist alongside the new one.
To add a new version, select the Product in the left-hand list that you want to make a new version of, and click the New Version button in the top-right menu.
Once clicked, the button will disappear and you will be able to edit the information of your selected product.
When you finished your amendments, click the Save button to complete the process of adding a new version.
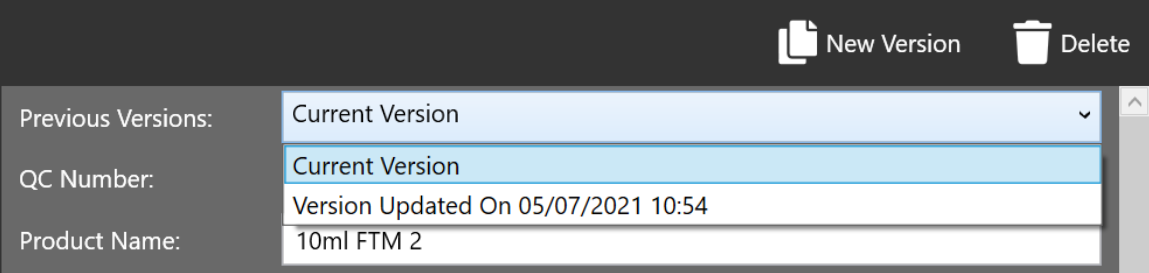
Once saved, you will notice a new Previous Versions dropdown appear in the right-hand pane above the product information, which will allow you to view the details of Previous Versions:
¶ Printing a Product Order Report
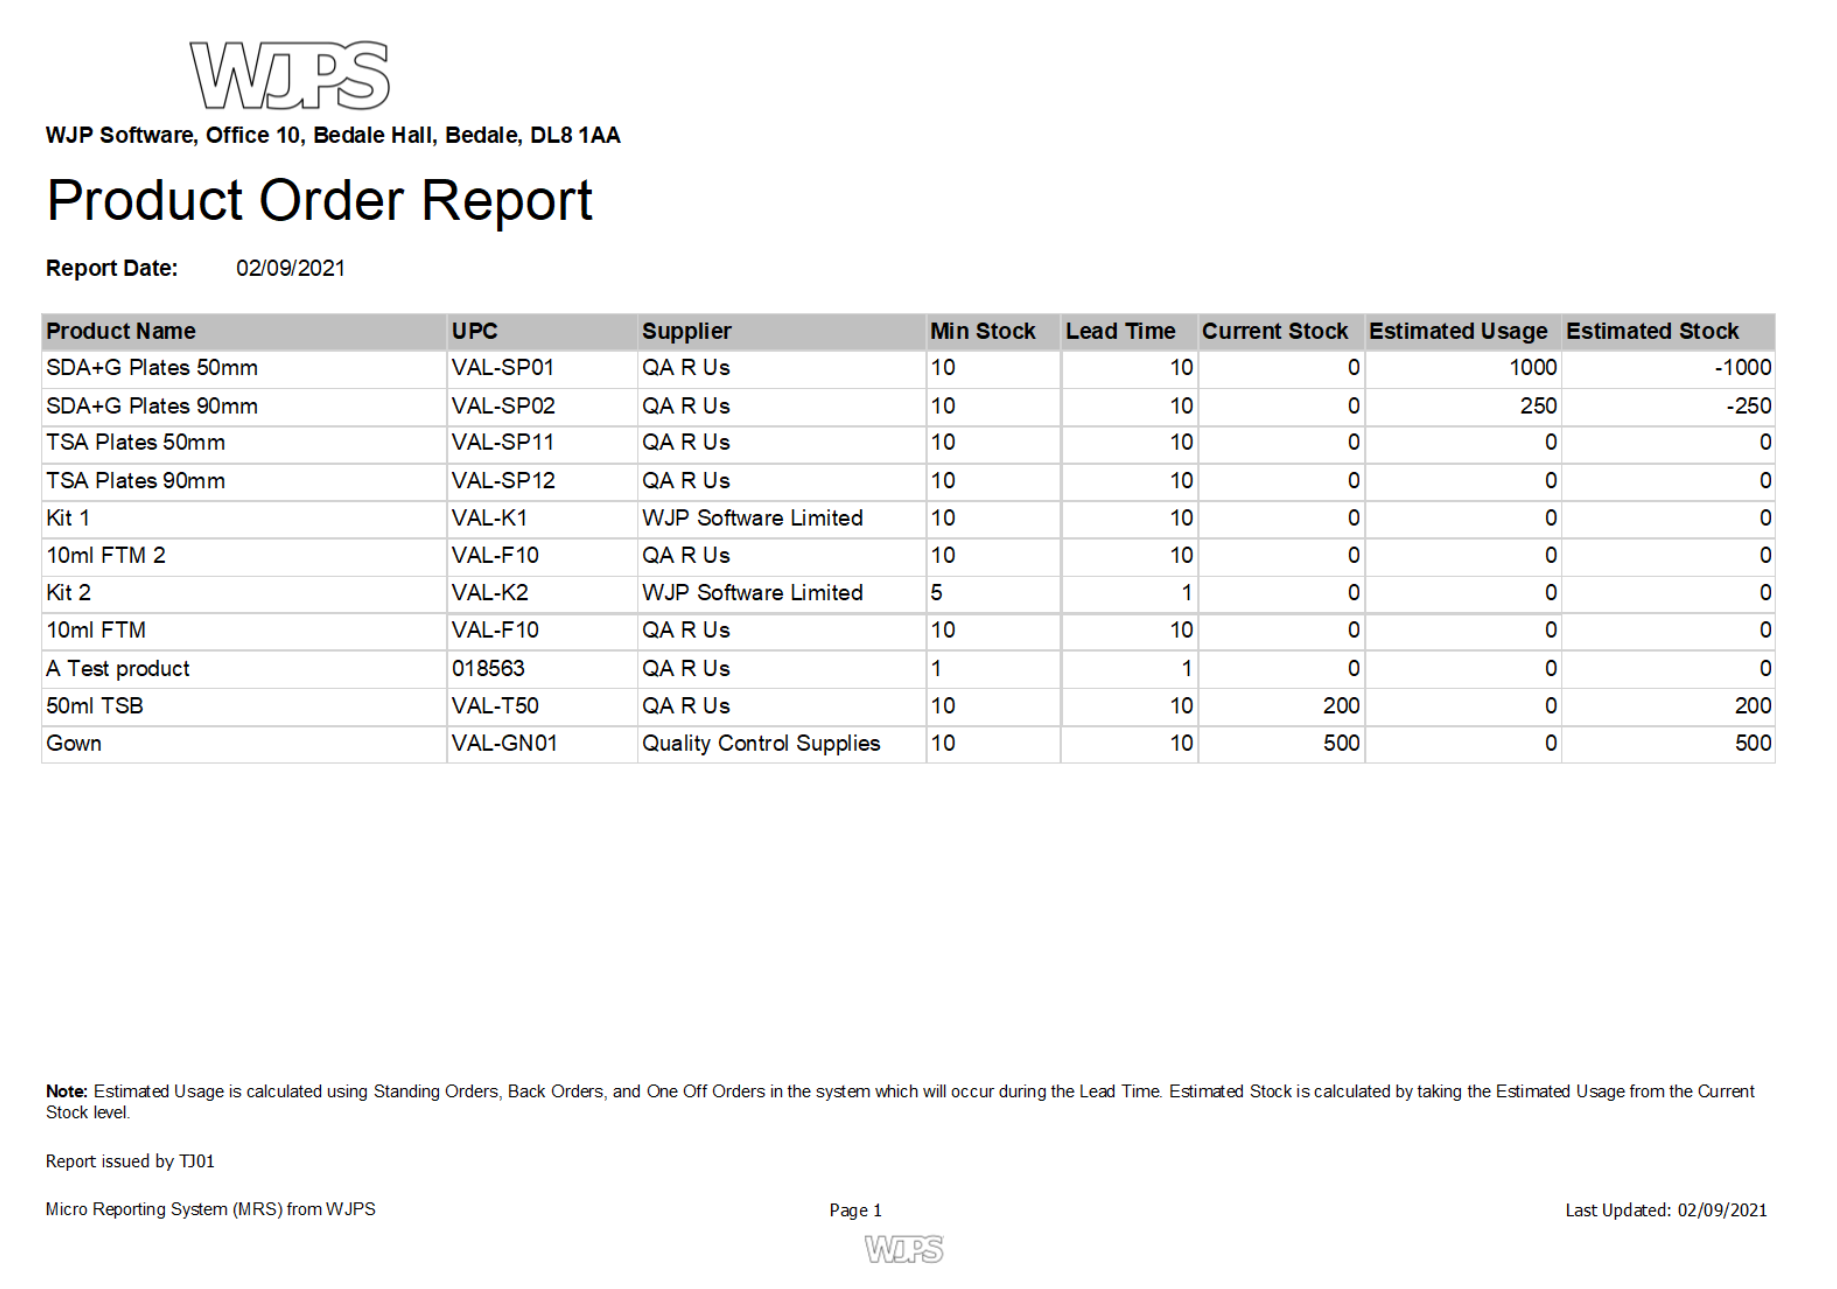
To print a Product Order Report, simply select the Order Report button from within the Media Products section.
Your report will then be generated and displayed:
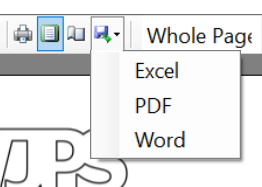
You can then choose to either print the report, or use Export to a variety of different formats: